
Quarantine-Friendly At-Home Projects

In this pandemic life, I have, like most people, been home significantly more than I was prior to the spread of the virus. I’ve always been a homebody, but the stay-at-home order and social distancing restrictions kept me home even more than before. I worked from home for seven weeks and have scarcely left home even since the stay-at-home order has been lifted. So what’s a girl to do to stay sane when she’s cooped up in her house all the time?
Projects. All the projects. Bring them on!
This was my chance to tackle projects that had been on my list for a while, ‘cause you better believe I have a Trello list of house projects I want to tackle, more or less organized in a prioritized list, sandwiched between a list of long-term projects like replacing our fridge and a shopping list like new entryway rugs. That’s just how this list-loving girl rolls.
So back to the projects. I’m a sucker for productivity, but even I knew that I needed to make time for rest with all the emotional toll the quarantine was taking on me. I tried to find balance between getting things done and giving myself grace to watch too many episodes and seasons of too many shows on Netflix to ever want to count them. But I did come up with several things to finally fix or update some things in our house while I was stuck at home, and the best thing is that most of them are relatively simple and not too expensive, so you can do them too if you’re stuck home (pandemic situation or not)!
If you’re looking for projects to do while you’re stuck at home, here are some of the things I tackled this spring.
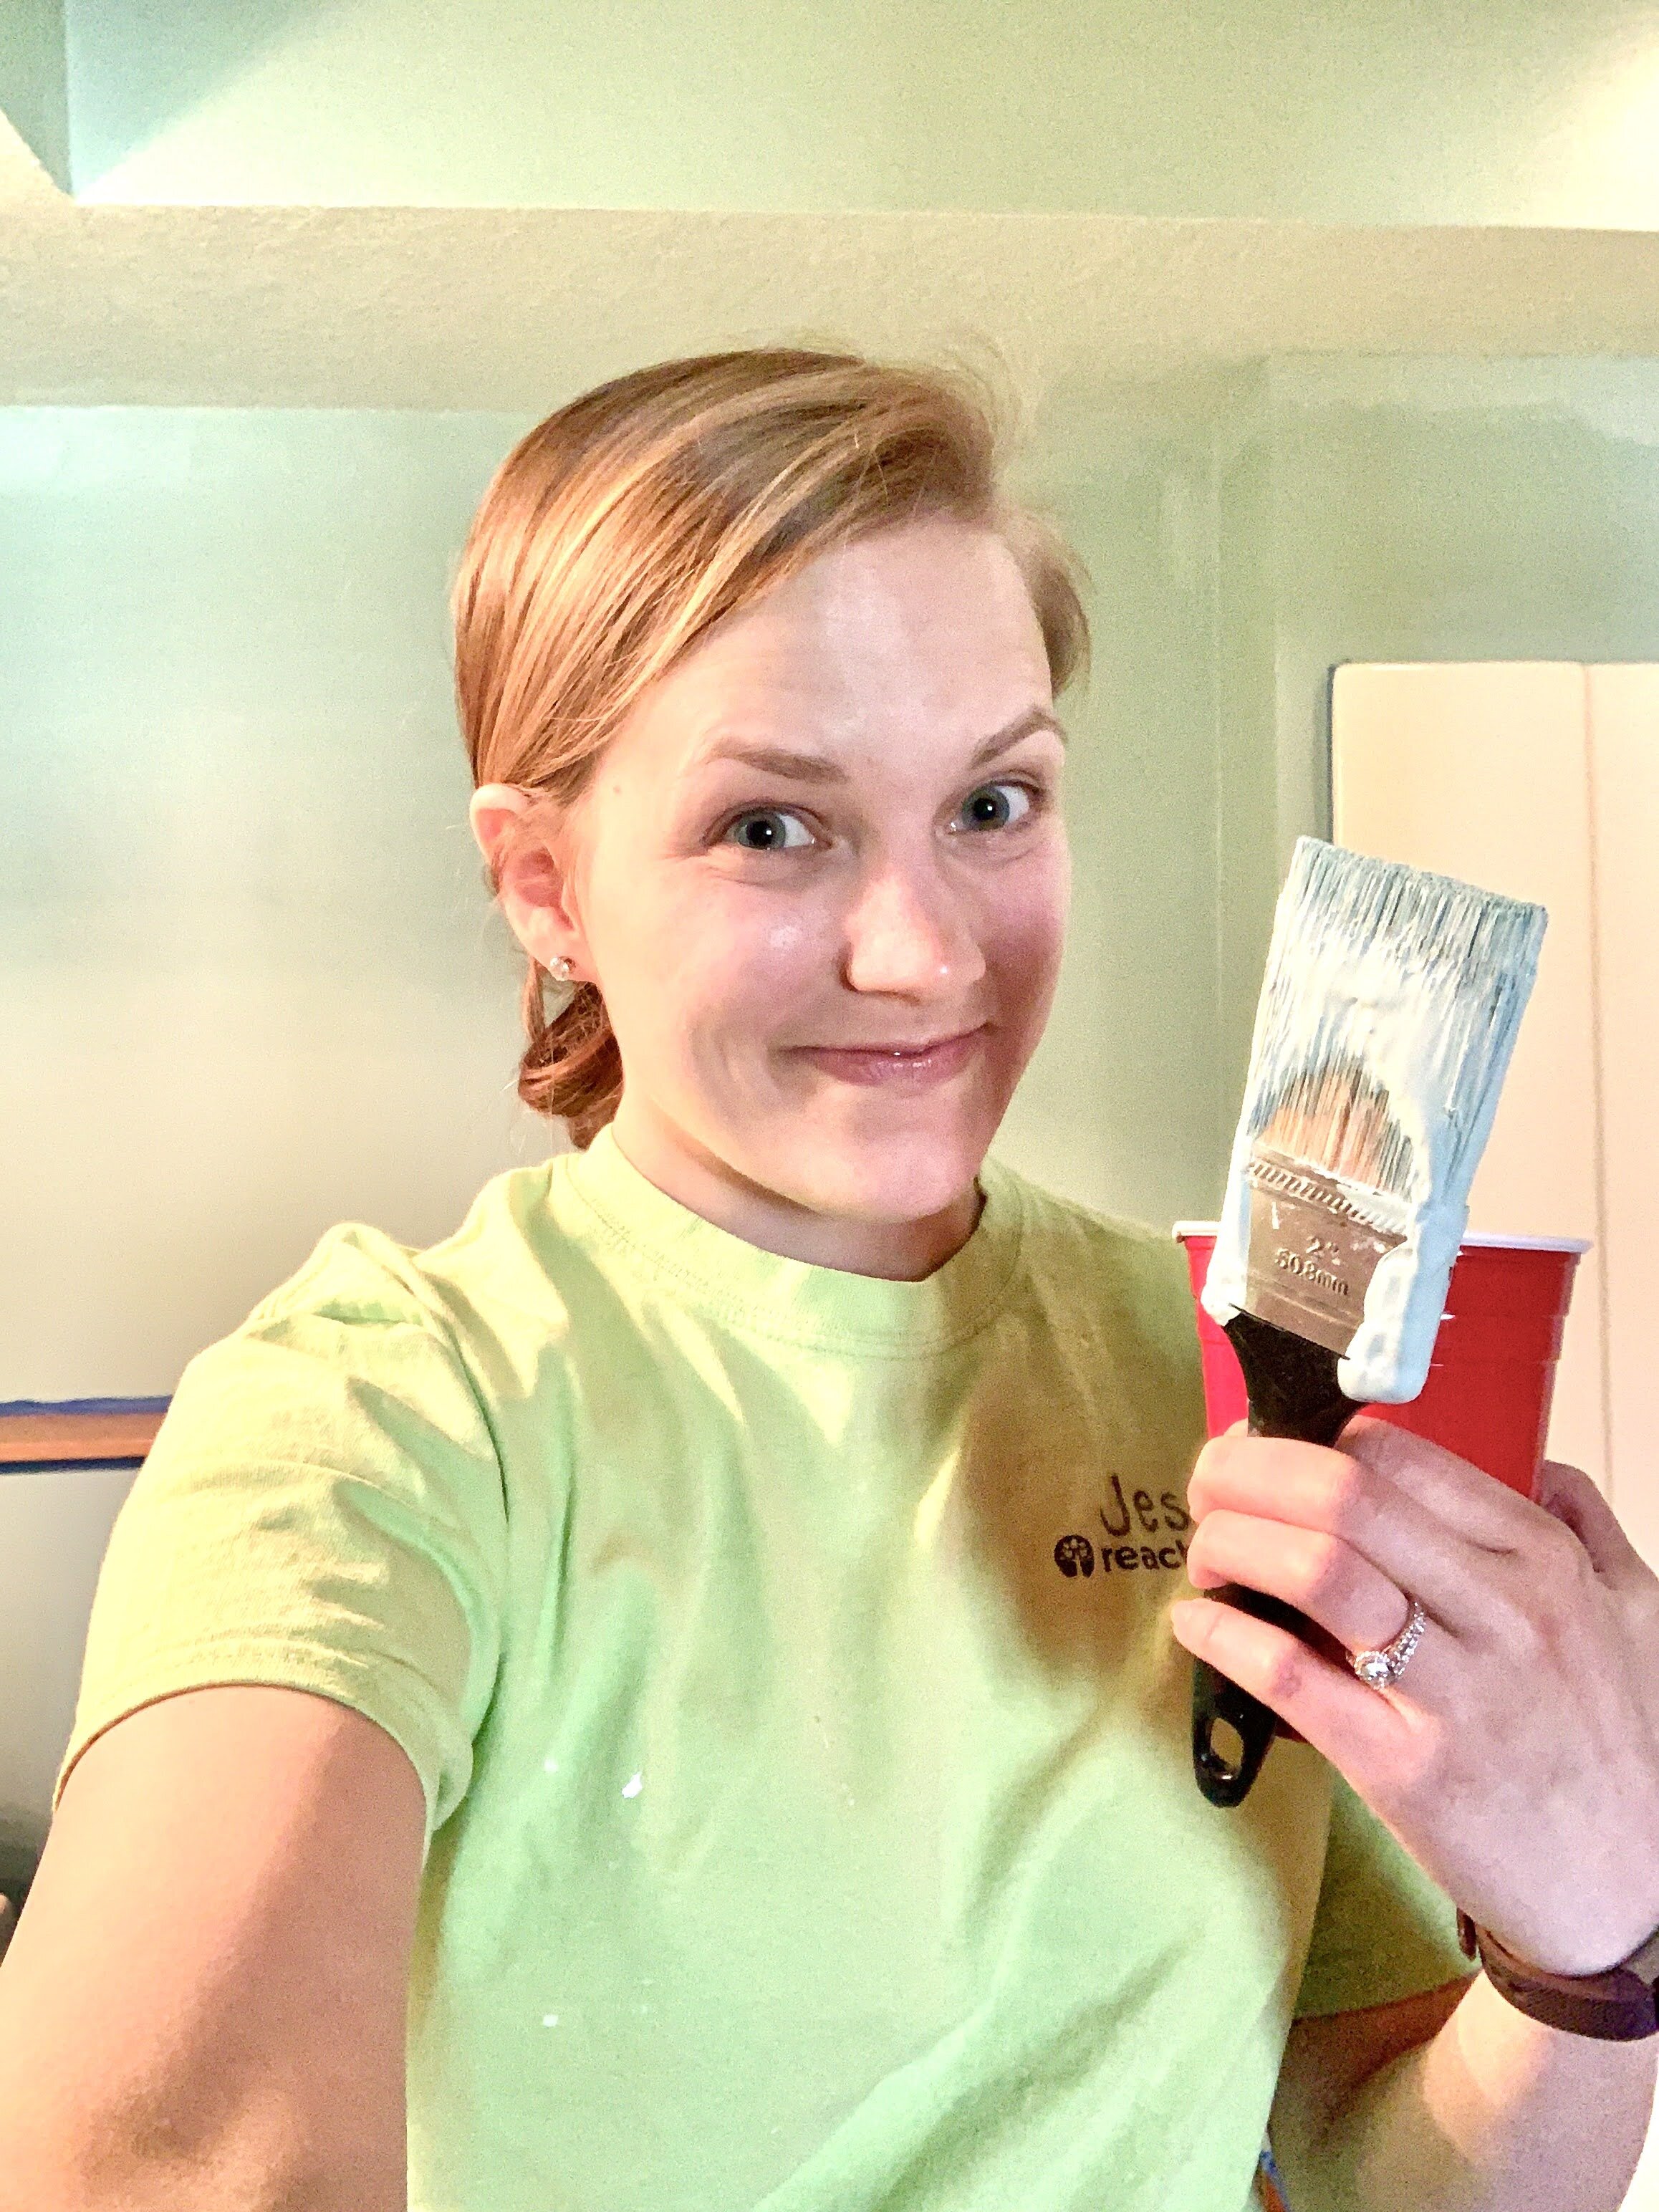
PAINTING
I repainted the downstairs bathroom (photo #1 in the gallery below). It’s the same color it was before (for those of you who are curious, it’s whatever color paint Menards had that’s similar to Behr’s Marina Isle), but the paint had been peeling off the wall above the shower (gross), so we sanded it, touched up some rough spots on the wall (more like holes— how do those even happen?!), and repainted with a fresh couple coats. Then my hubby sealed it around the shower to keep it from peeling. Most people probably wouldn’t notice the paint, especially because it’s the same color as before, but we appreciate not having peeling paint. And I will say that painting the same color is SO much easier than painting a new color because you don’t have to worry about being perfect or getting those hard-to-reach places as well (Iike behind the toilet tank). It was much easier!
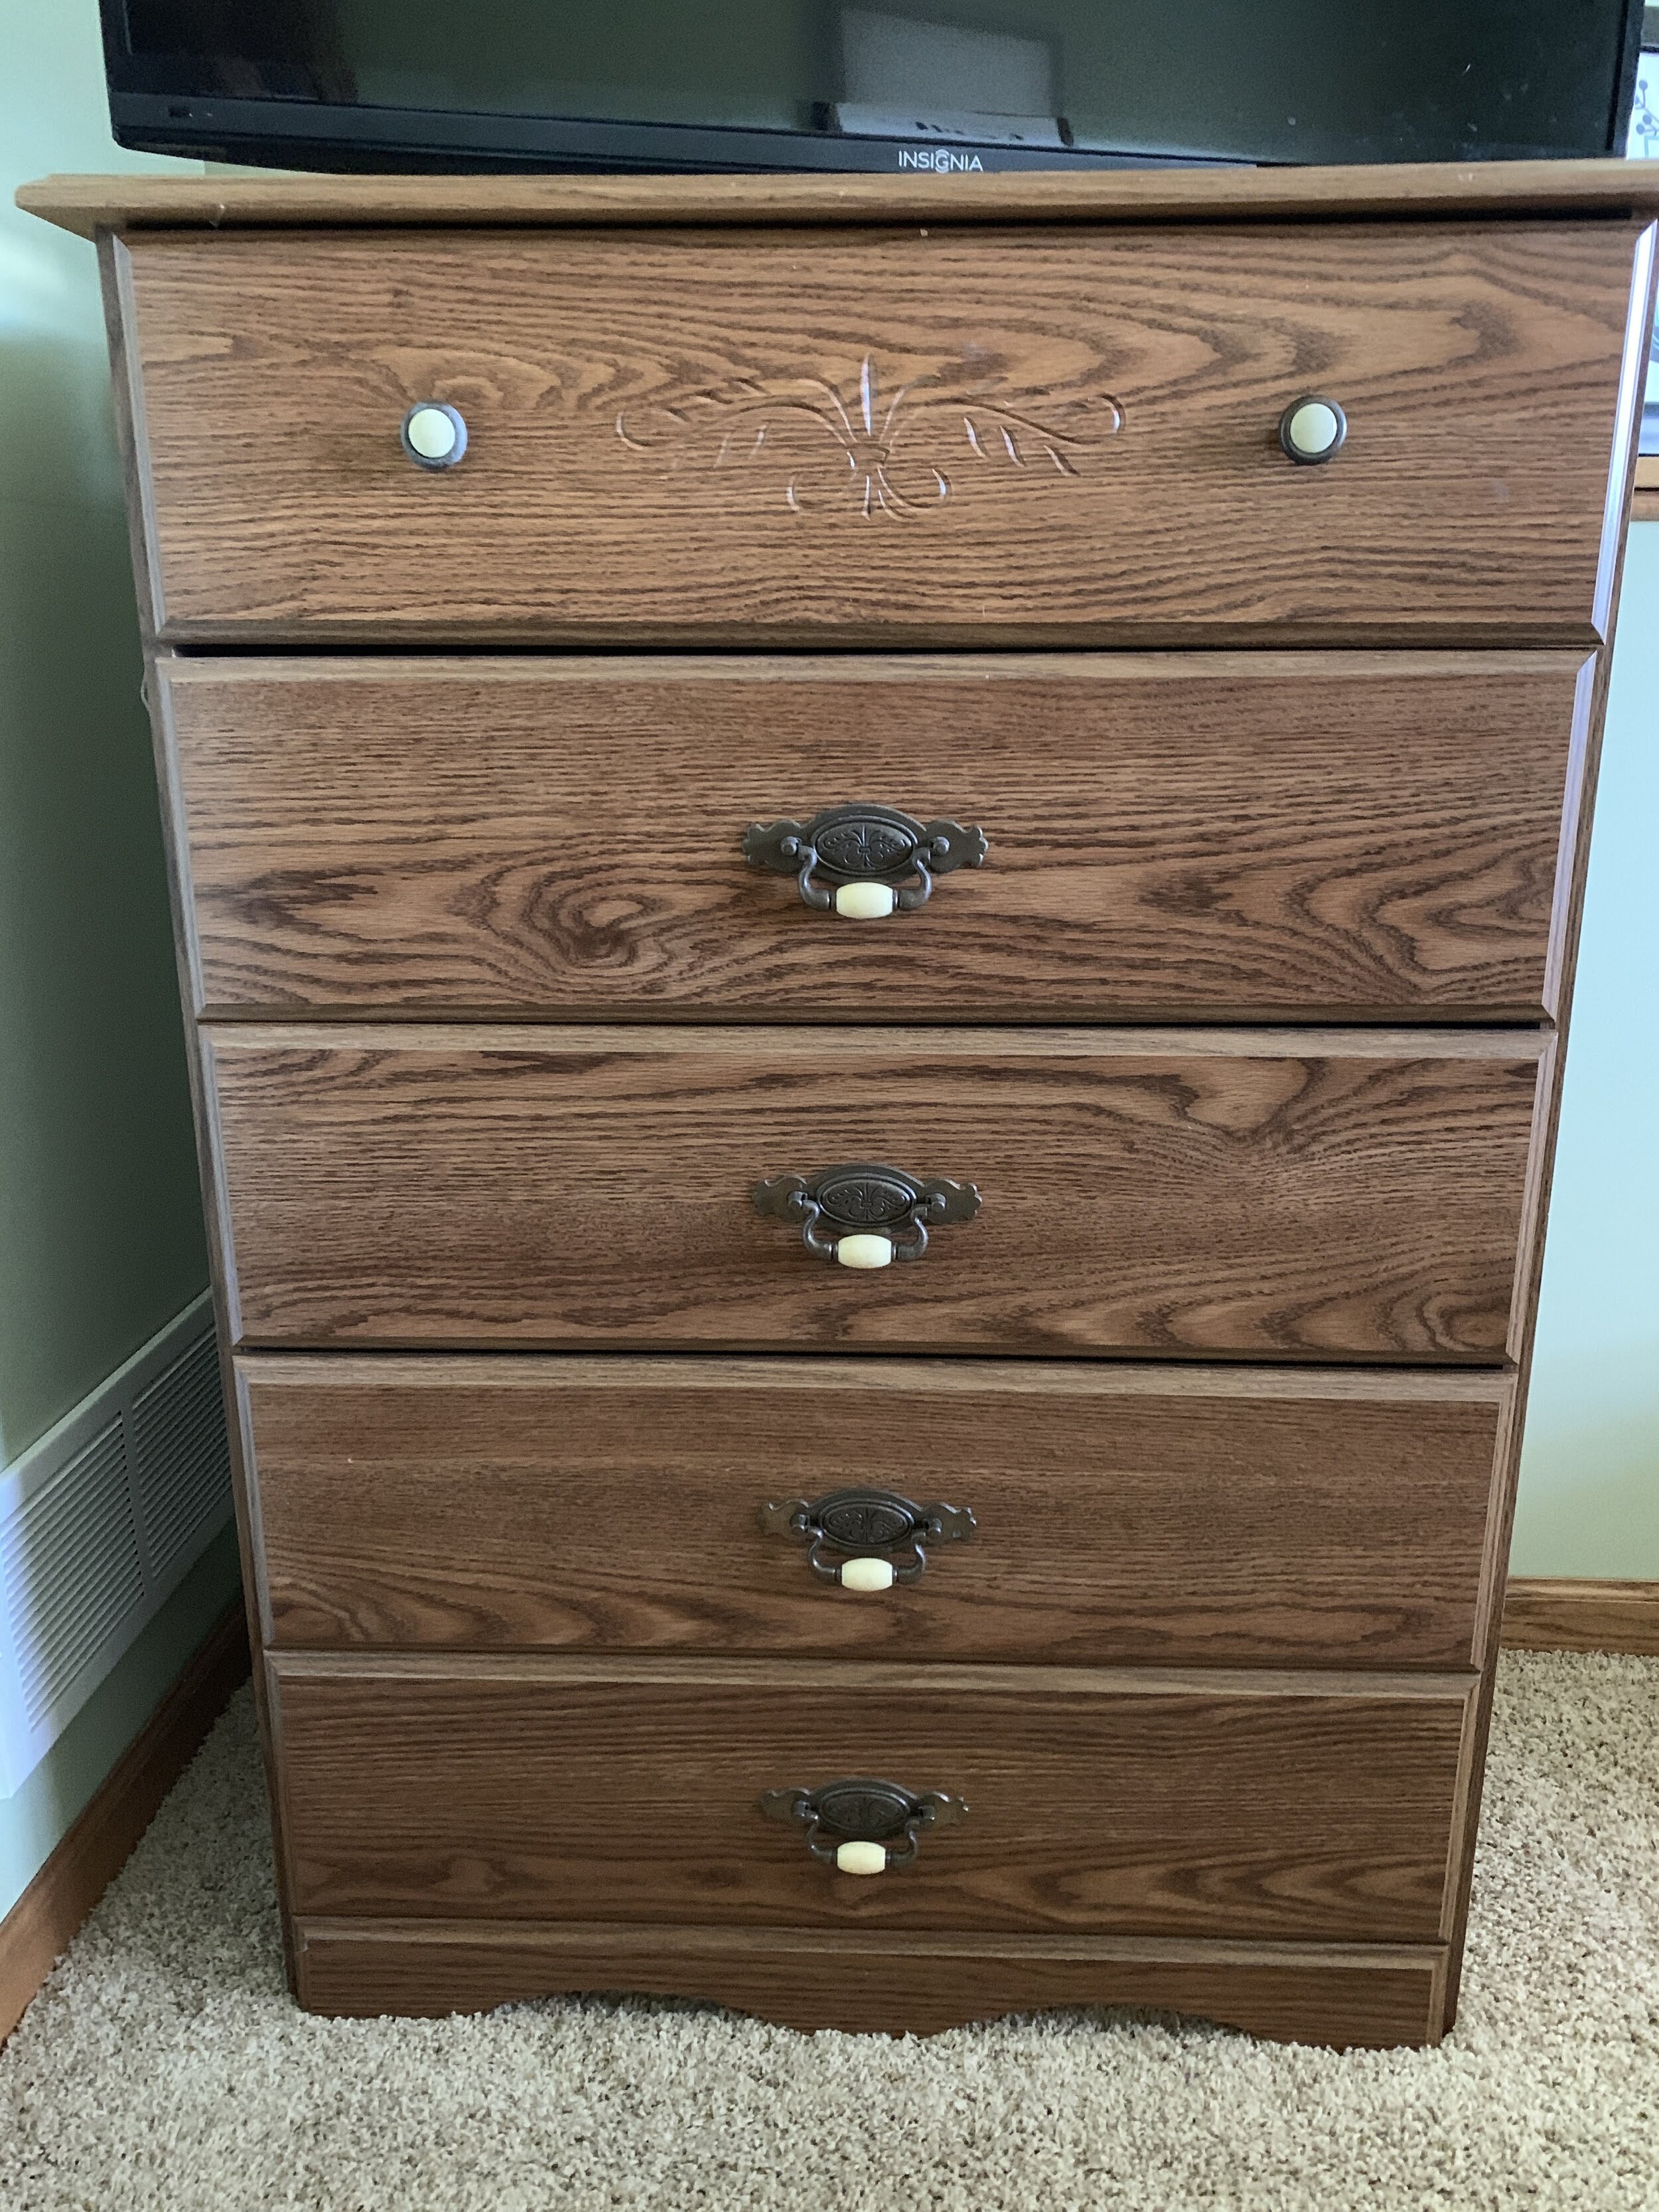
I also painted some furniture. Now before you go thinking I’m some amazing DIY queen (I wish; #lifegoals), let me tell you that 1) I consulted my sister on her experience repainting her dresser a couple of years ago and essentially copied her entire project, 2) I was painting old/free furniture that I wasn’t super invested in, so the stakes were lower, and 3) I used beginner-friendly chalk paint products.
I started with a dresser (photo #2 in the gallery below) that my husband said is older than him (making it at least a product of the 1980s), pulling all the drawers out, taking off the old hardware I really didn’t like, sanding down the surfaces, and spackling in the engraved design on the top drawer (my best attempt to fill it in to create a smooth surface like the other drawer fronts— I’m telling you, I’m no pro here).
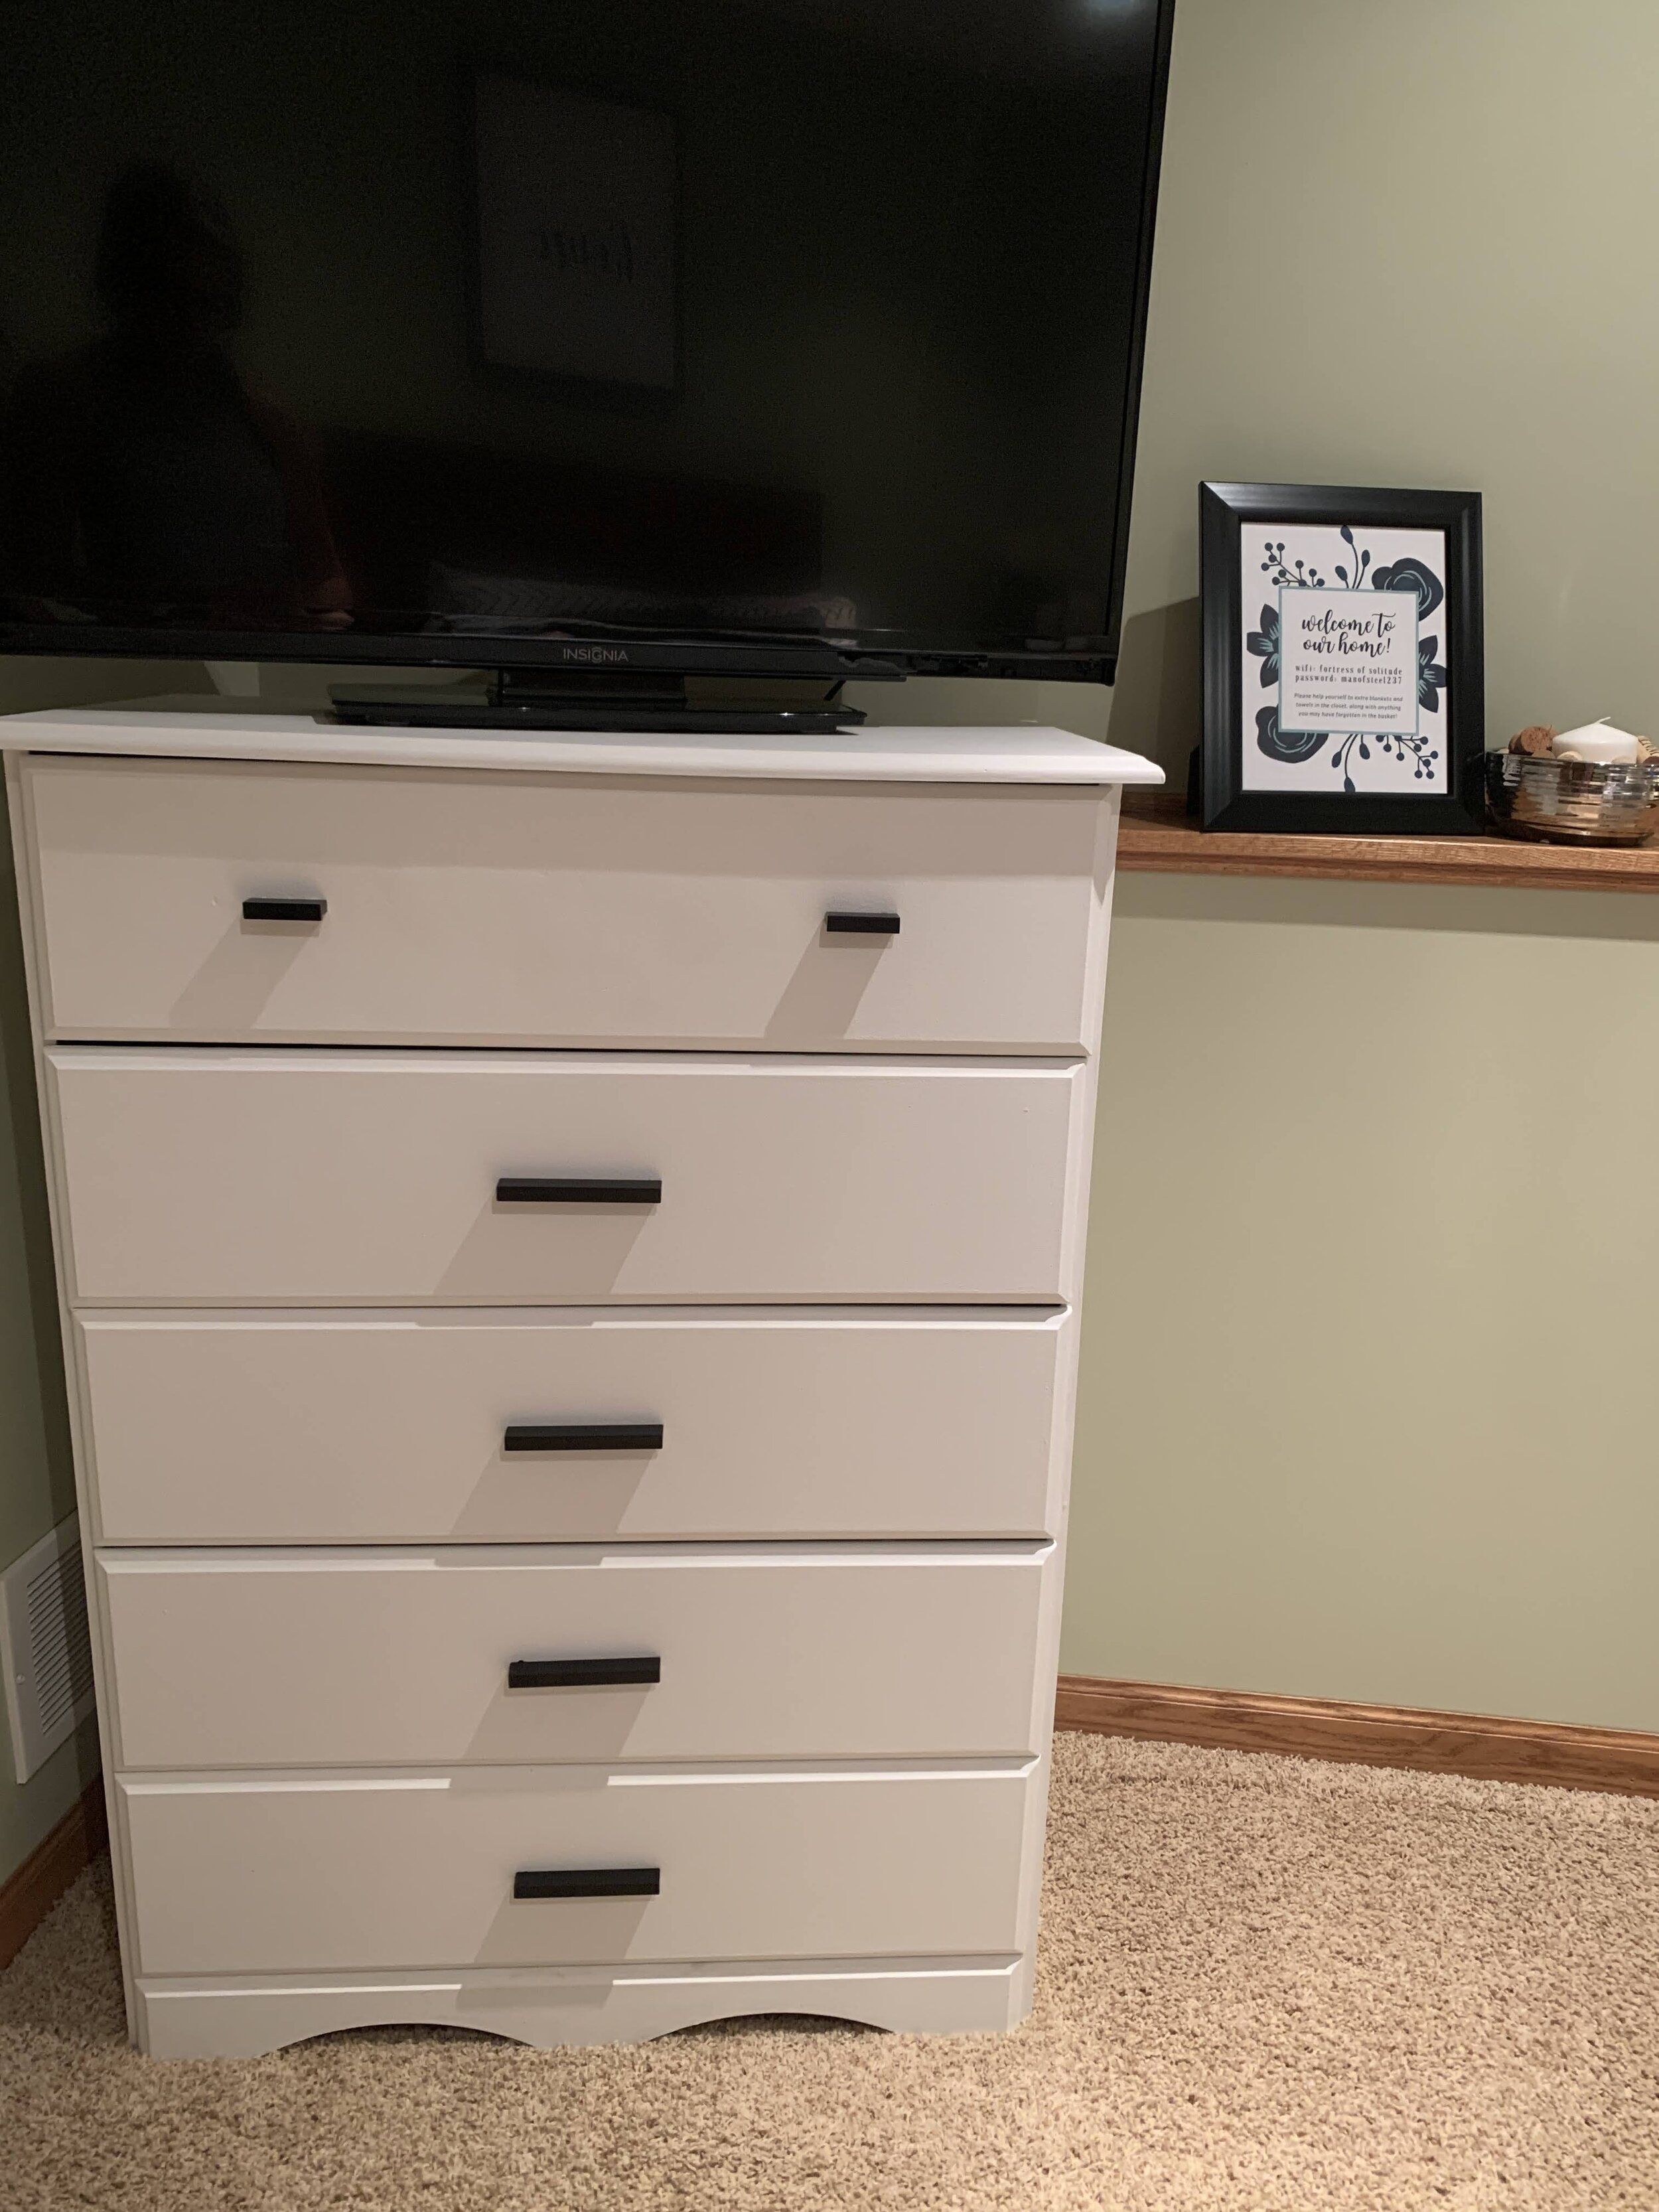
Then I painted away with a foam brush and small paint roller, doing a few coats of white chalk paint (linen white from Rustoleum, one of the quart-sized cans for the whole project) and then a finishing coat (matte clear from Rustoleum, less than an entire quart-sized can for the dresser and my other projects combined).
I added new black hardware (simple pulls like these for the bottom few drawers and coordinating smaller ones like these for the top one, all from Menards). My husband had to drill holes to put the new hardware on the top drawer since the new pulls had more holes than the old ones, so there was some adjusting to do there to get it right, but it was pretty straightforward.
It turns out that filling in the design on the top drawer with spackle worked pretty well! It’s not perfect, and neither is the paint job, but I really like how it turned out! (End product is photo #3 in the gallery below.) It took the better part of three days with drying time and waiting to drill holes in the drawer front, but really could have been a single weekend project. It wasn’t the cheapest of these projects with the paint and the hardware (somewhere near the $70 mark, but there is leftover clear coat), but it cost less than buying a new dresser, and now I have one I love!
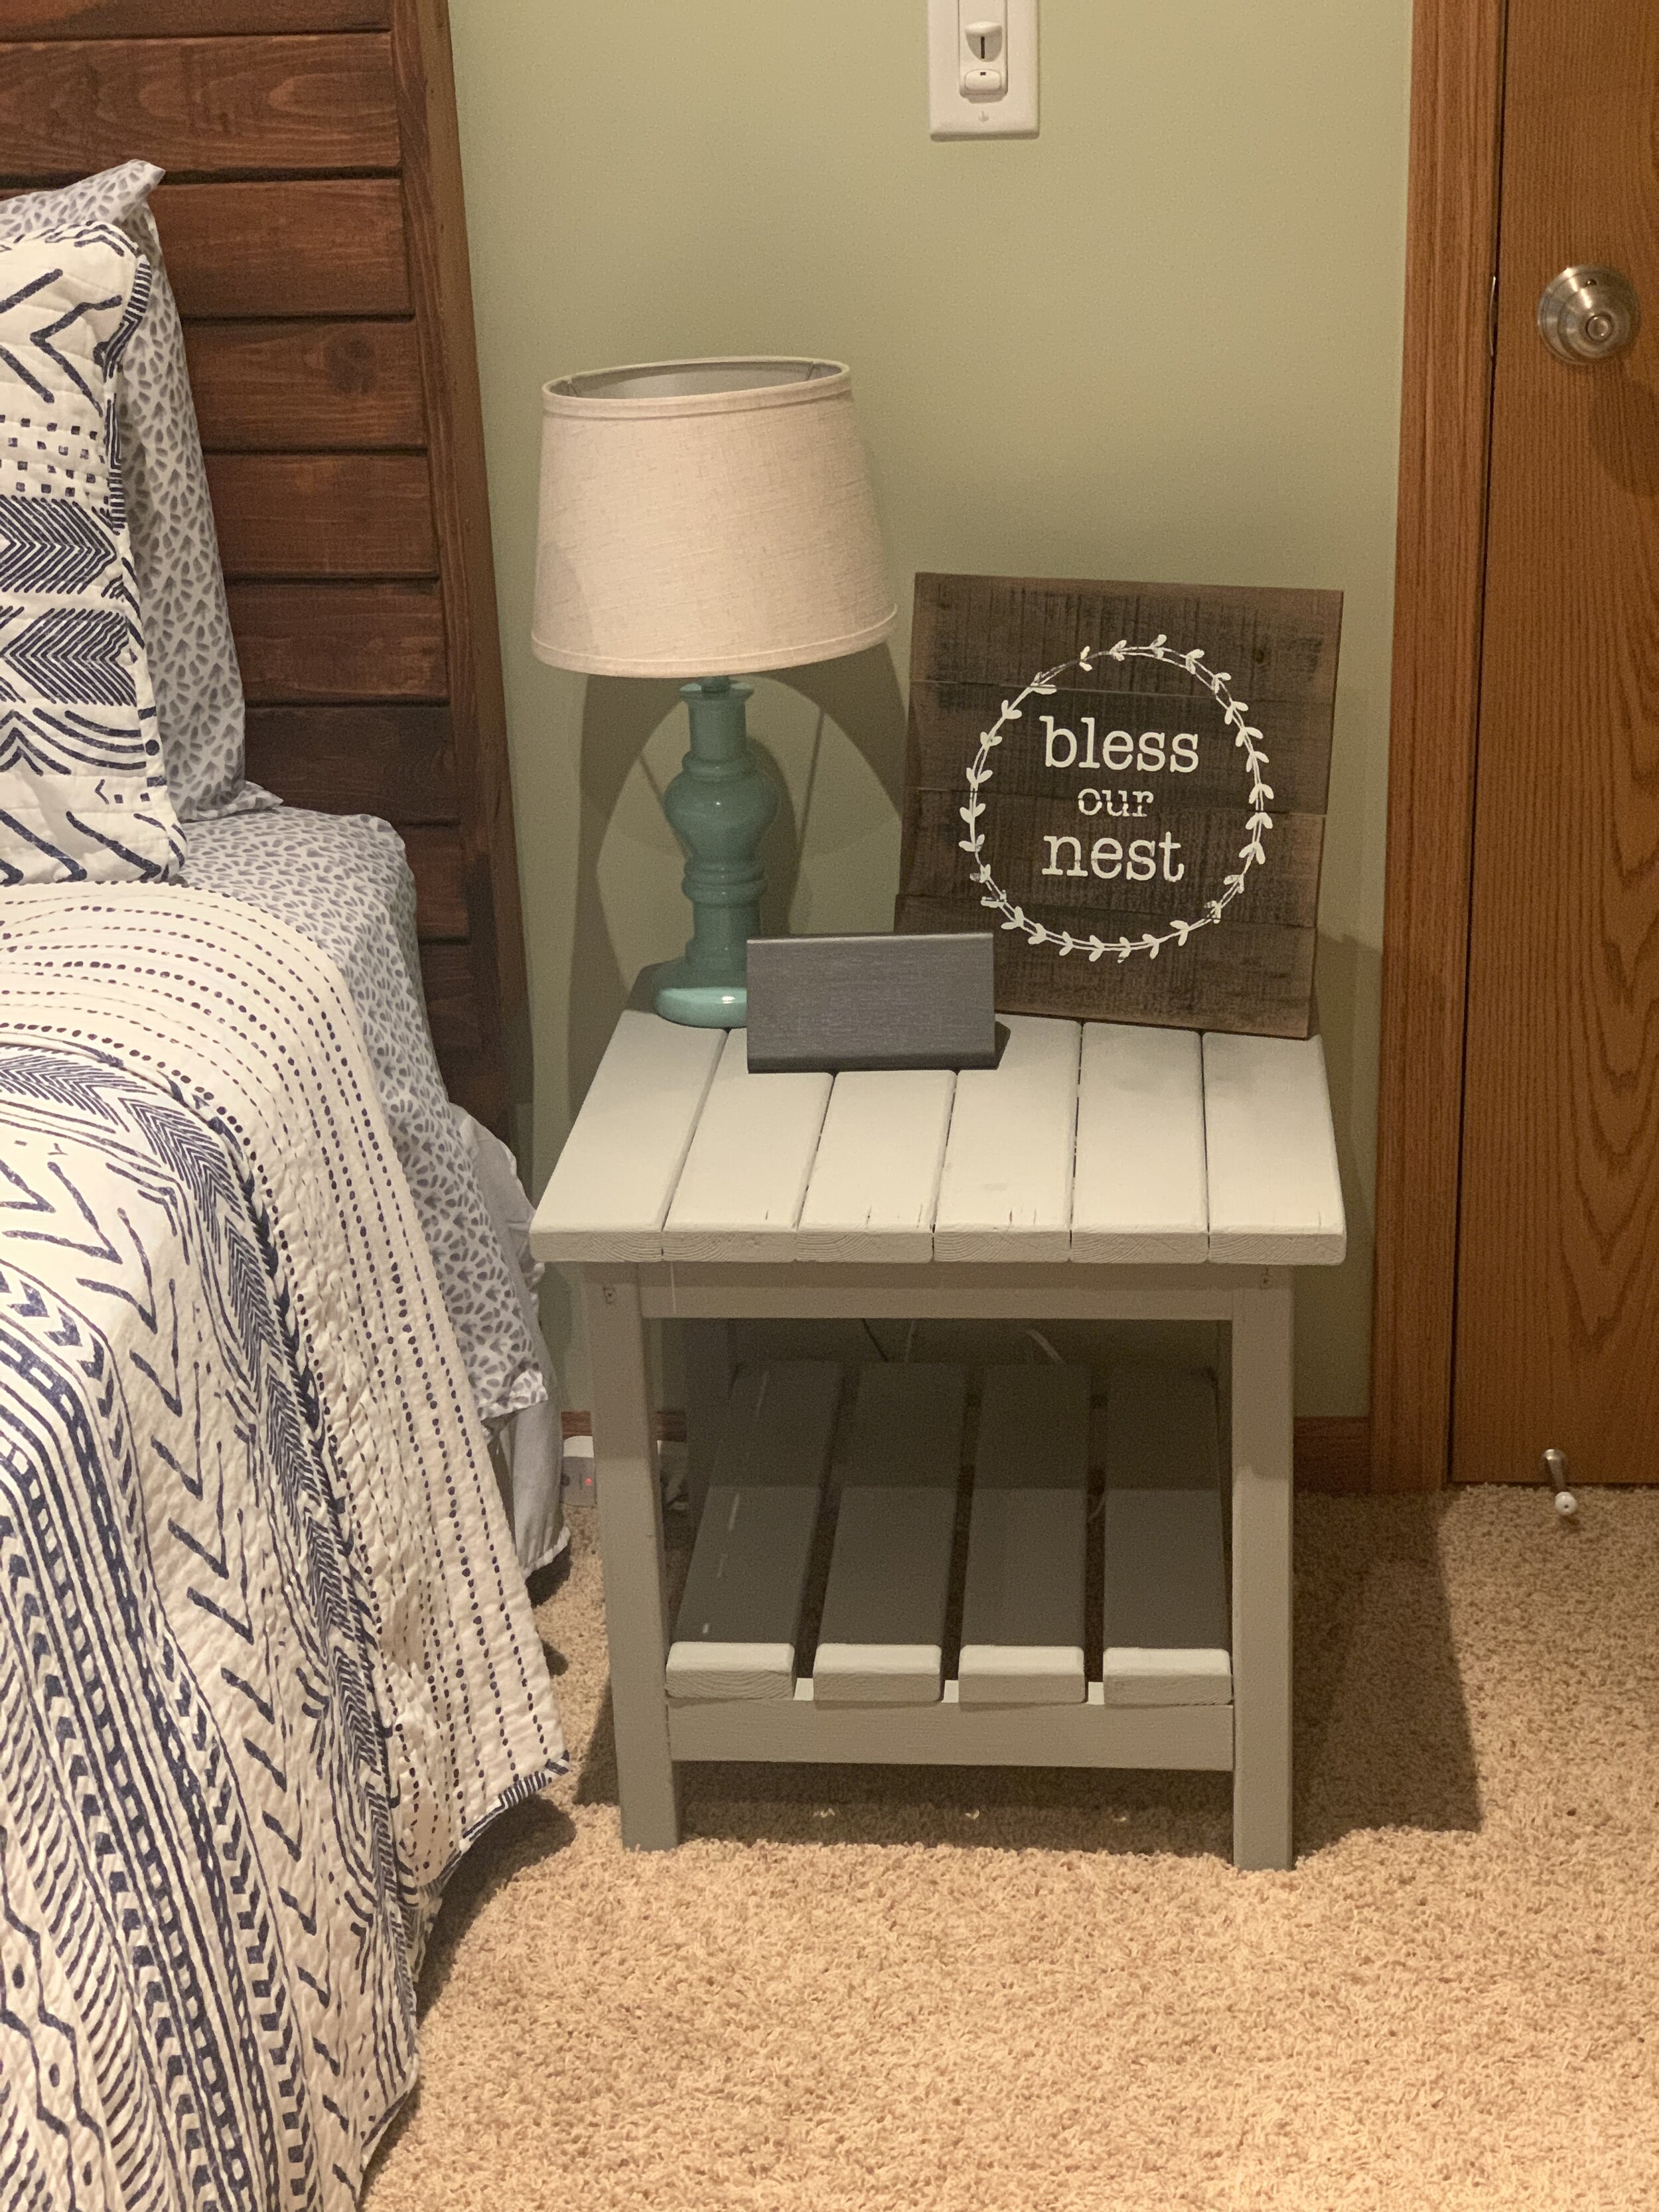
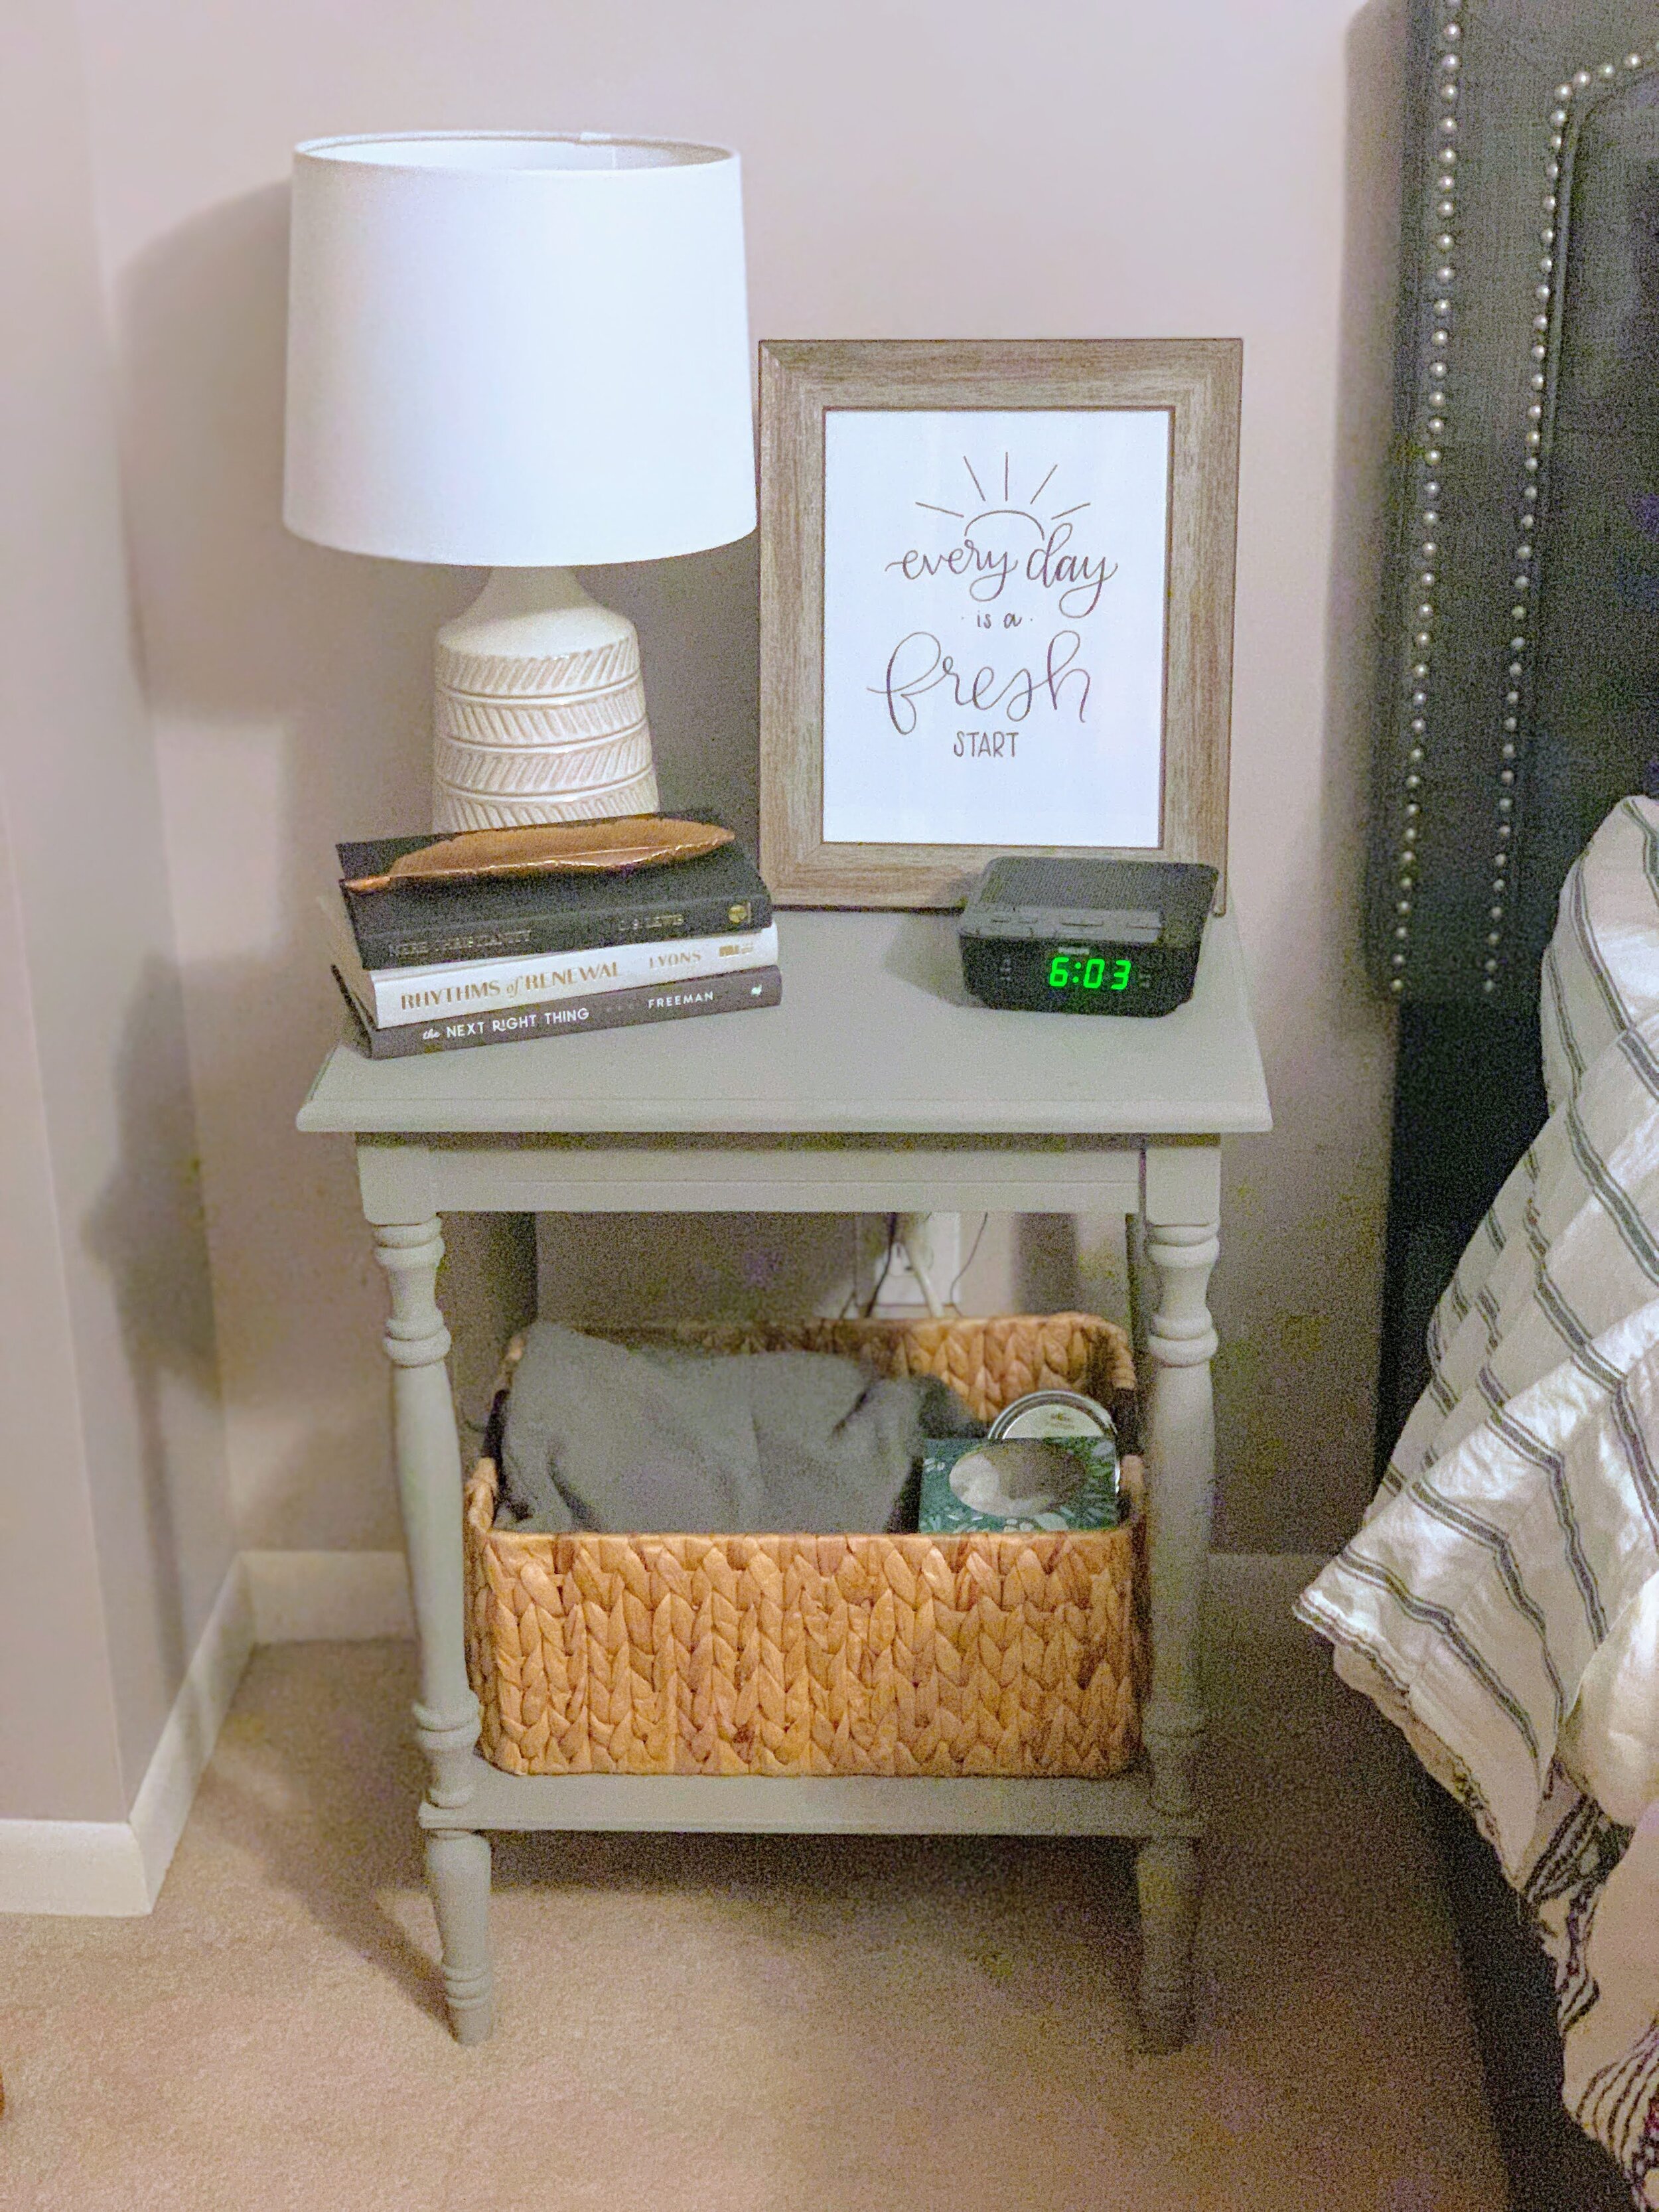
I also sanded and painted the old table we had in our guest room as a nightstand (finished product in photo #4 in gallery below). It had been left behind by the previous owner of the townhouse my sister and I owned before I got married, and I’d just used it as-is for years, but it was rough and just plain weathered-grey wood. Not super attractive. So I sanded some of the rough edges and painted it with some grey paint (country gray from Rustoleum, not a full quart-sized can for all my projects combined) and called it a day. I also painted over a turquoise wooden nightstand that my sister had given me at the townhouse after realizing nothing in our bedroom now (where it was positioned on my side of the bed) was that color anymore, and seeing some stains on it that wouldn’t come off. It looks so much better in that space now (photo #5 in gallery below)! Both of these were completed in less than a day combined.
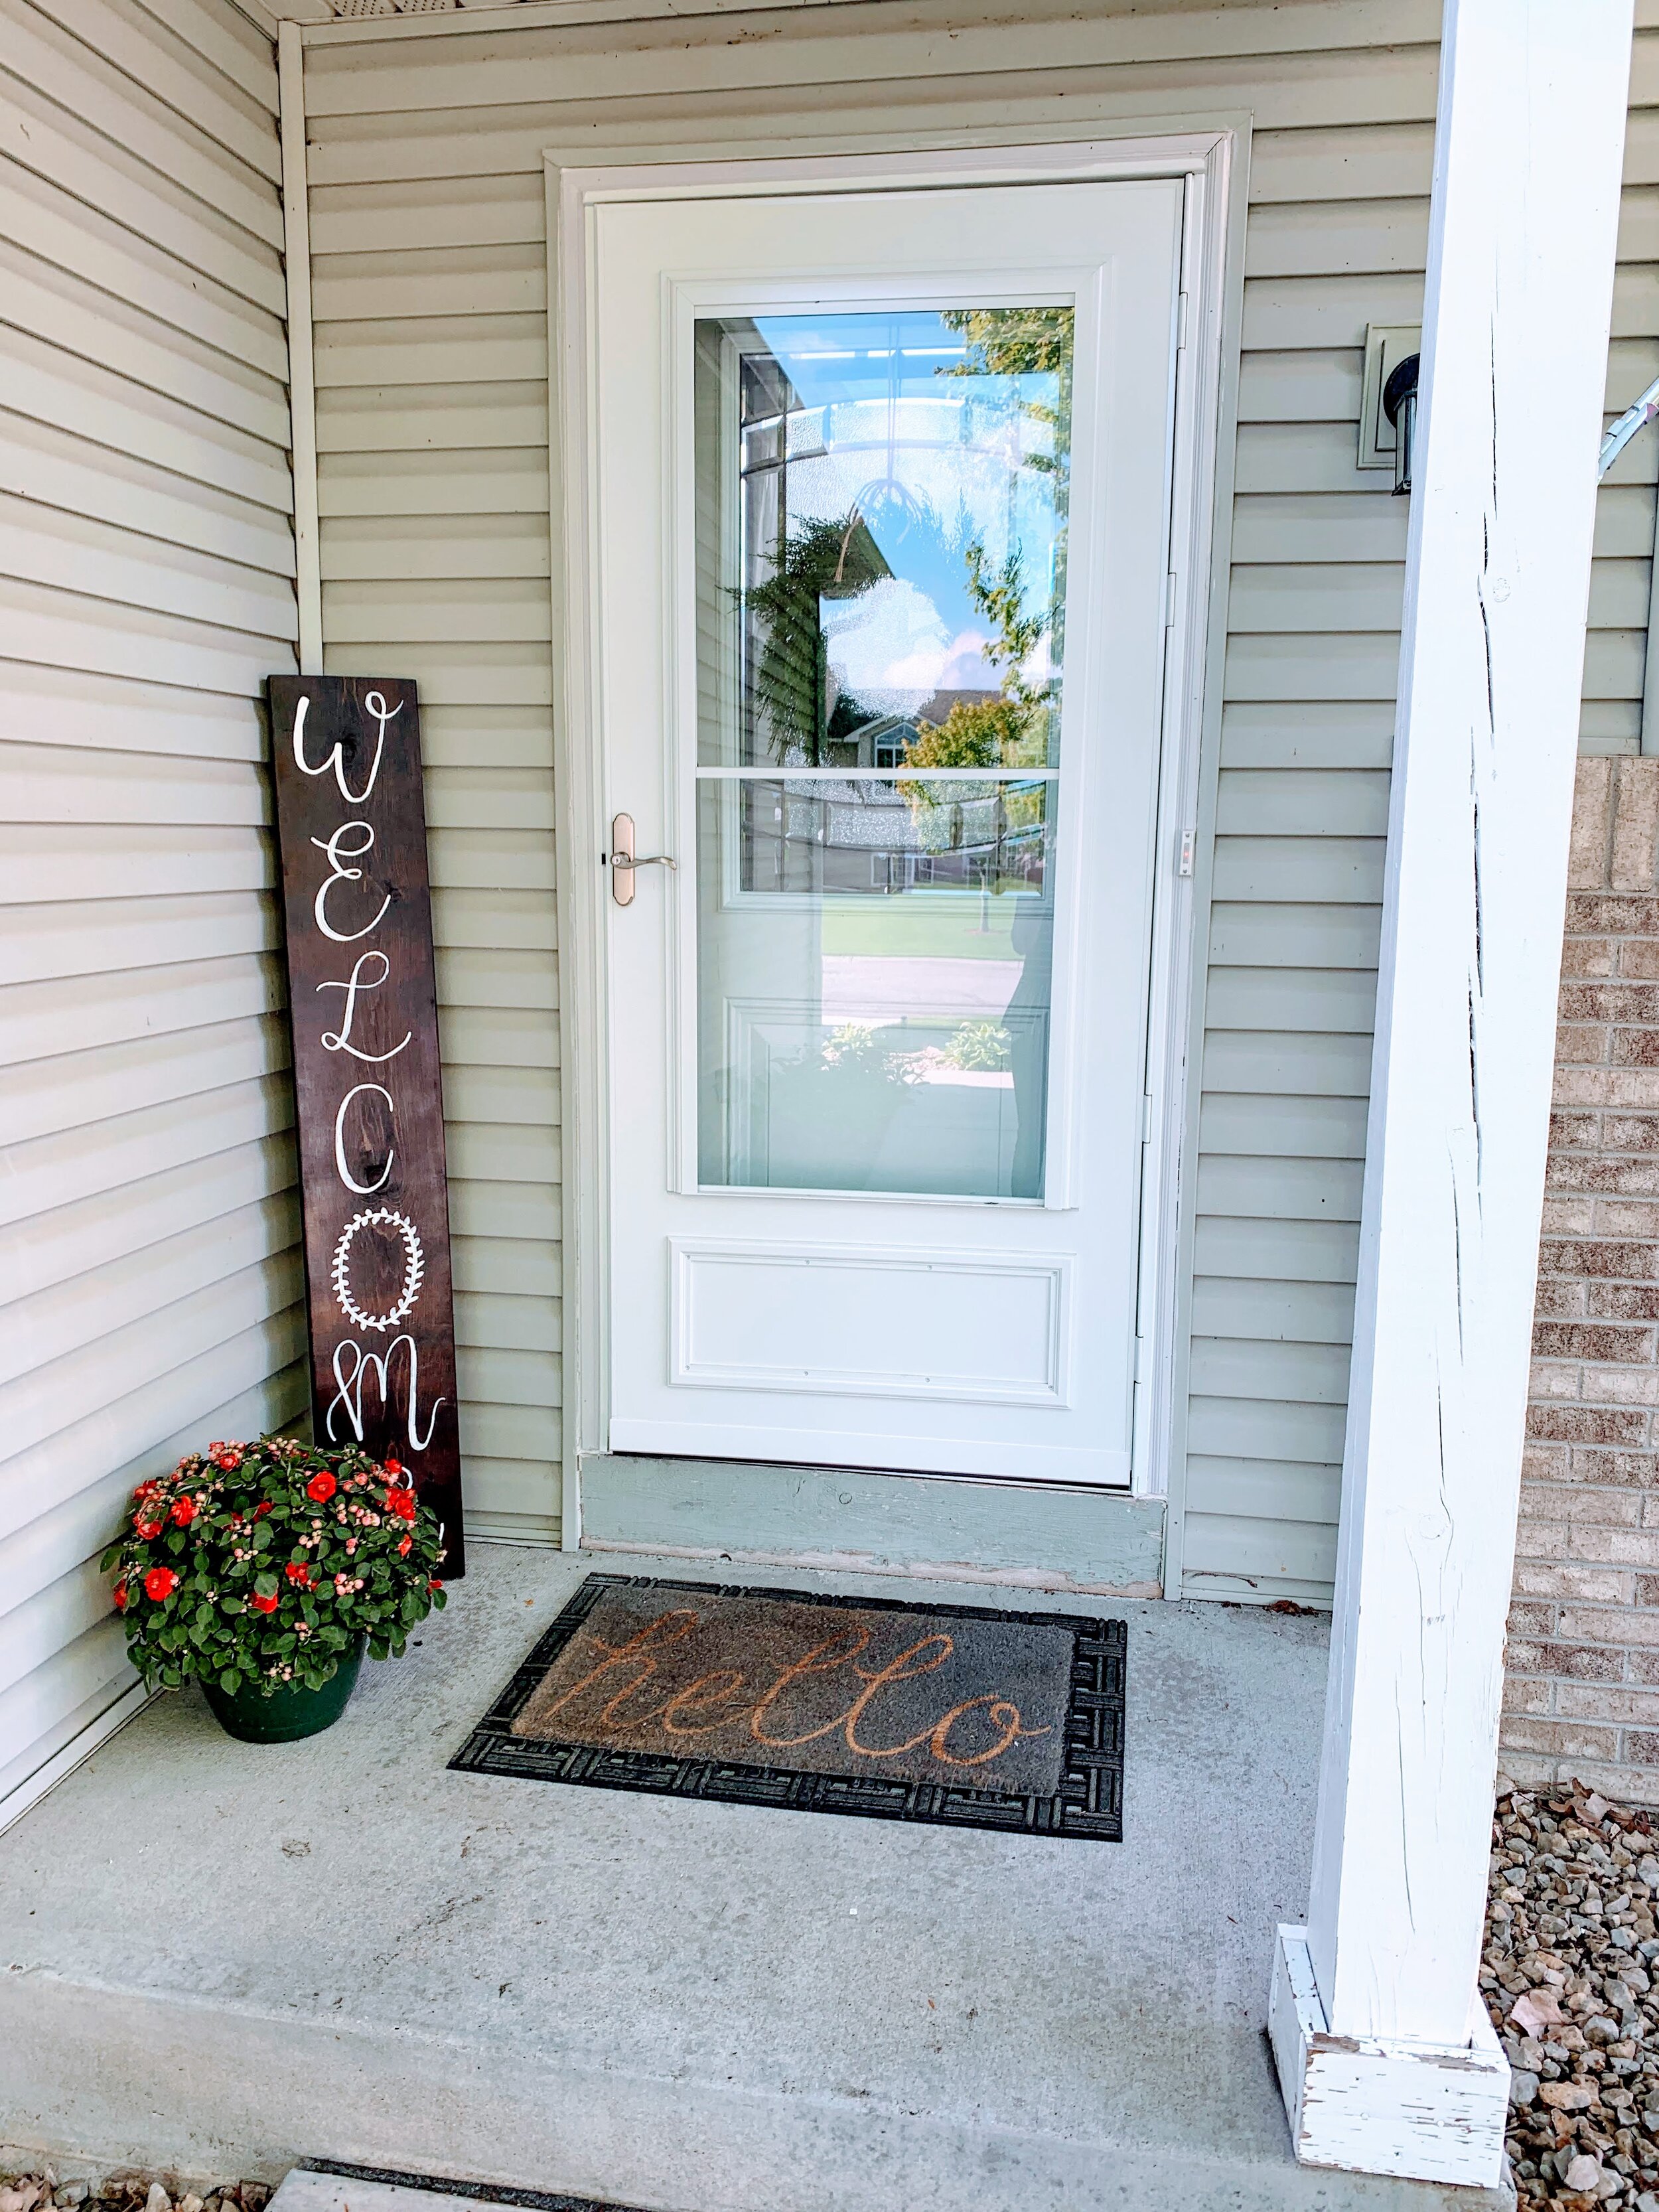
I also had my hubby cut an old deck board to the right size for me to make a sign for our front step. Then I sanded it, stained it, and painted “welcome” on it. It’s true that nearly everybody on our street has a long board with “welcome” or “home” on it, but I still wanted one after seeing so many cute front porches both in person and on Pinterest (ours had been nearly empty but for one small mat and two small statues— one of a kneeling, praying soldier, and one of three frogs dressed up in Minnesota Vikings gear— yep, that was greeting people on their way into our home. Yikes.). So I wanted an upgrade. Making the new sign took less than 24 hours, most of that being drying time after staining, painting the letters, and spraying a clear sealer coat.
Between the sign, layering mats, and adding a plant (that sort of lives some days and looks like it’s dying on others— work in progress), it’s an upgrade! I also painted the trim for the door (with leftover garage wall paint— free!) on a whim, since we replaced the door in the fall when it was too cold for me to want to paint the little part you can see around the door and inside it then. It was a beige color, and the door’s white, so it really didn’t work, and when I noticed that I could easily see it from the outside of the house, I couldn’t leave it like that. Small differences really help, friends! It could still use some work (new mats that don’t look so dingy, a new baseboard thing for the door itself…but it’s better! (Before: photo #6, after: photo #7 in gallery below.)

planting

The 6’x3’ garden bed my hubby built for me, before anything was sprouting up.
I took advantage of having more time home in the spring to plant vegetables and herbs in my garden, starting another year of gardening experiments. I never know what’s going to grow and what isn’t, and this year is an entirely new experience because I’m planting in a different environment, with different sun exposure, soil mixture, raised bed dimensions, and combinations of plants. It was nice to have more time to work on planning out and planting everything, though!
My husband and I also took a trip to our local plant nursery to pick out some plants to go under our front tree and on the side of the garage (his idea, so props to him). Then I was grateful to have extra time at home to plant these different flowers and plants and make sure they get sufficient water. Who knows if I would have had the patience or desire to get them started if I was busier. It only took an afternoon to plant the flowers from the nursery and probably less time for the plants in the garden, but the motivation took longer. :) This was definitely the most expensive of the projects since we bought several perennial plants from a local nursery, and those tend to add up. But we love looking at them and can’t wait to watch them keep growing!
I also bought (well, technically, I won it through a health initiative at work) a flower pot from the nursery to put on our front step, and it’s still a struggle to figure out how to keep that one alive. We’ll see how it goes. :)
crafting
I also got to indulge in some crafting while I was home, namely handlettering, small sewing projects, and some crocheting.
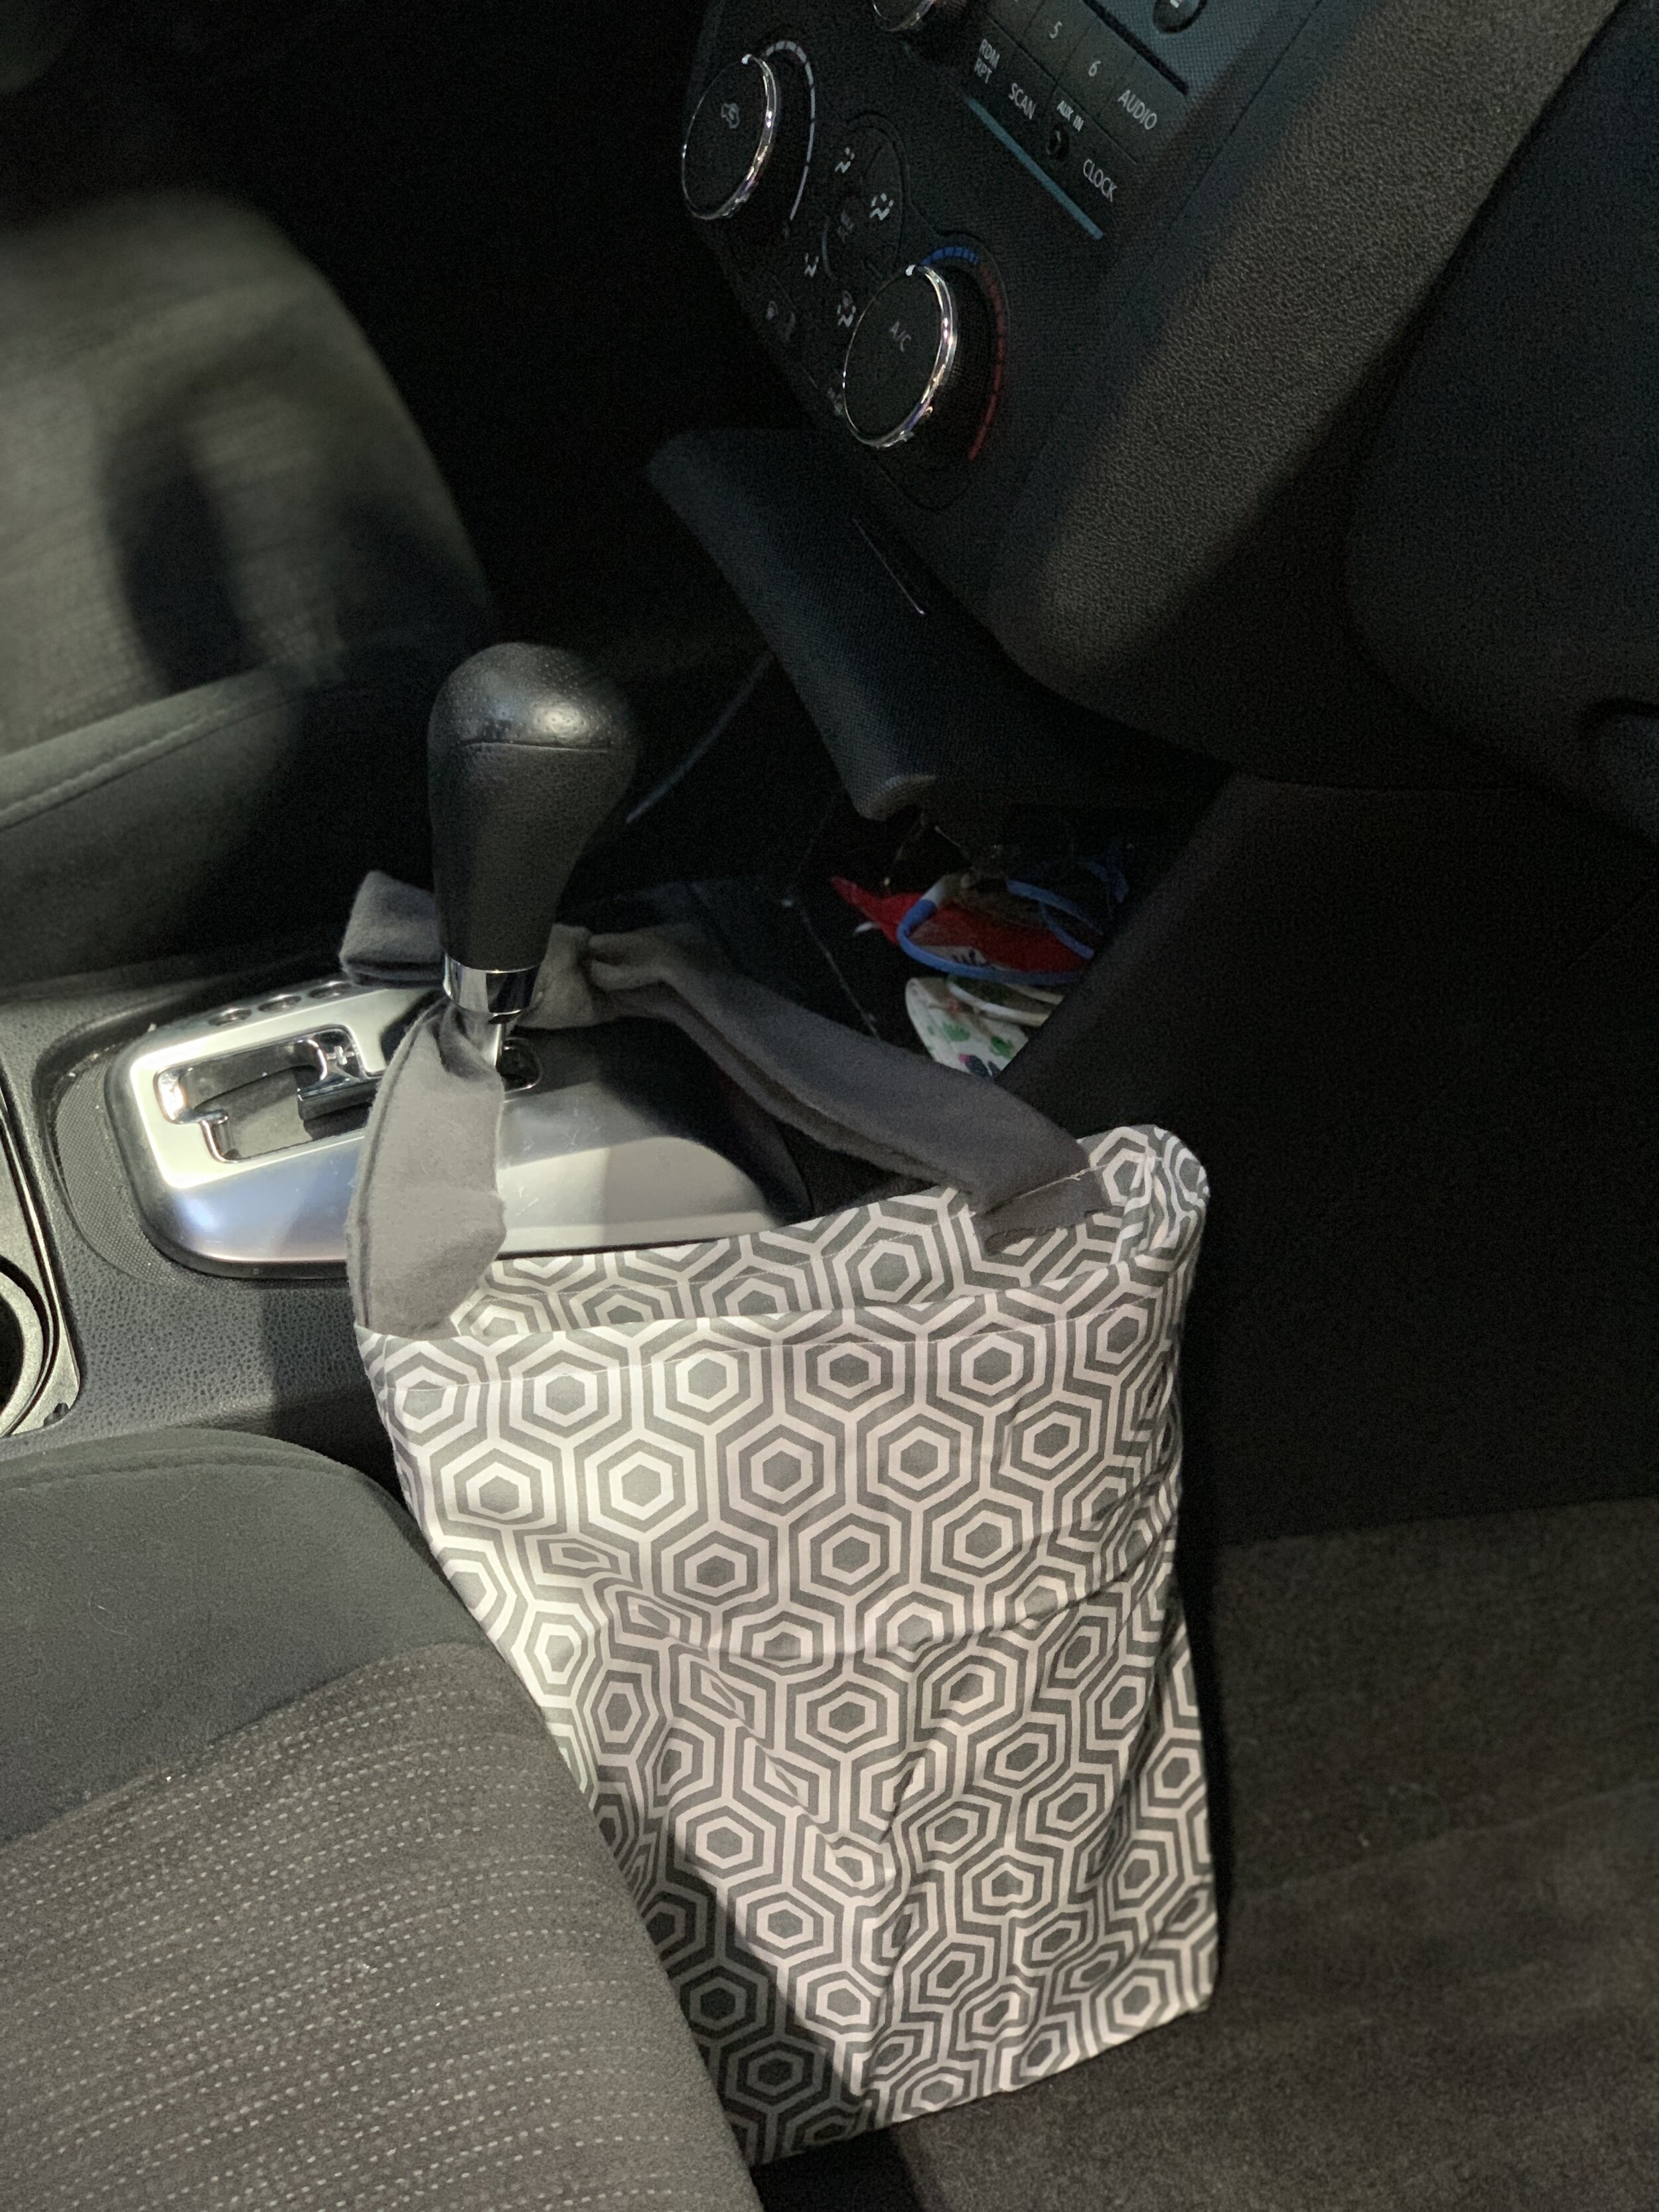
I made a trash bag to go in my car after getting frustrated with the can on the floor in the back tipping over one too many times and spreading tissues and wrappers all over the floor. Gross. So now there’s a lovely bag hanging from my gear shift instead. Bonus: it’s easier to reach than a can roaming around the floor of my backseat (photo #1 in gallery below). I didn’t use any fancy pattern or anything, just used a fabric remnant that was roughly the size of a gallon-size plastic baggie (to line the bag and keep it from getting wet, ‘cause gross). I sewed the sides together with the wrong side of the fabric facing out, then flipped it so it was right-side out. I did a topstitch for the top rim of the bag with the plastic baggie inside to hold it in place (I didn’t need it to be able to zip closed), and then sewed on some grey material I had tied into a bow for a handle. It took less than an hour and cost me $0.
I also altered some clothes I ordered from ThredUP to fit a little better than they did when they arrived. I’m no master seamstress, but I can take in a seam here and there.
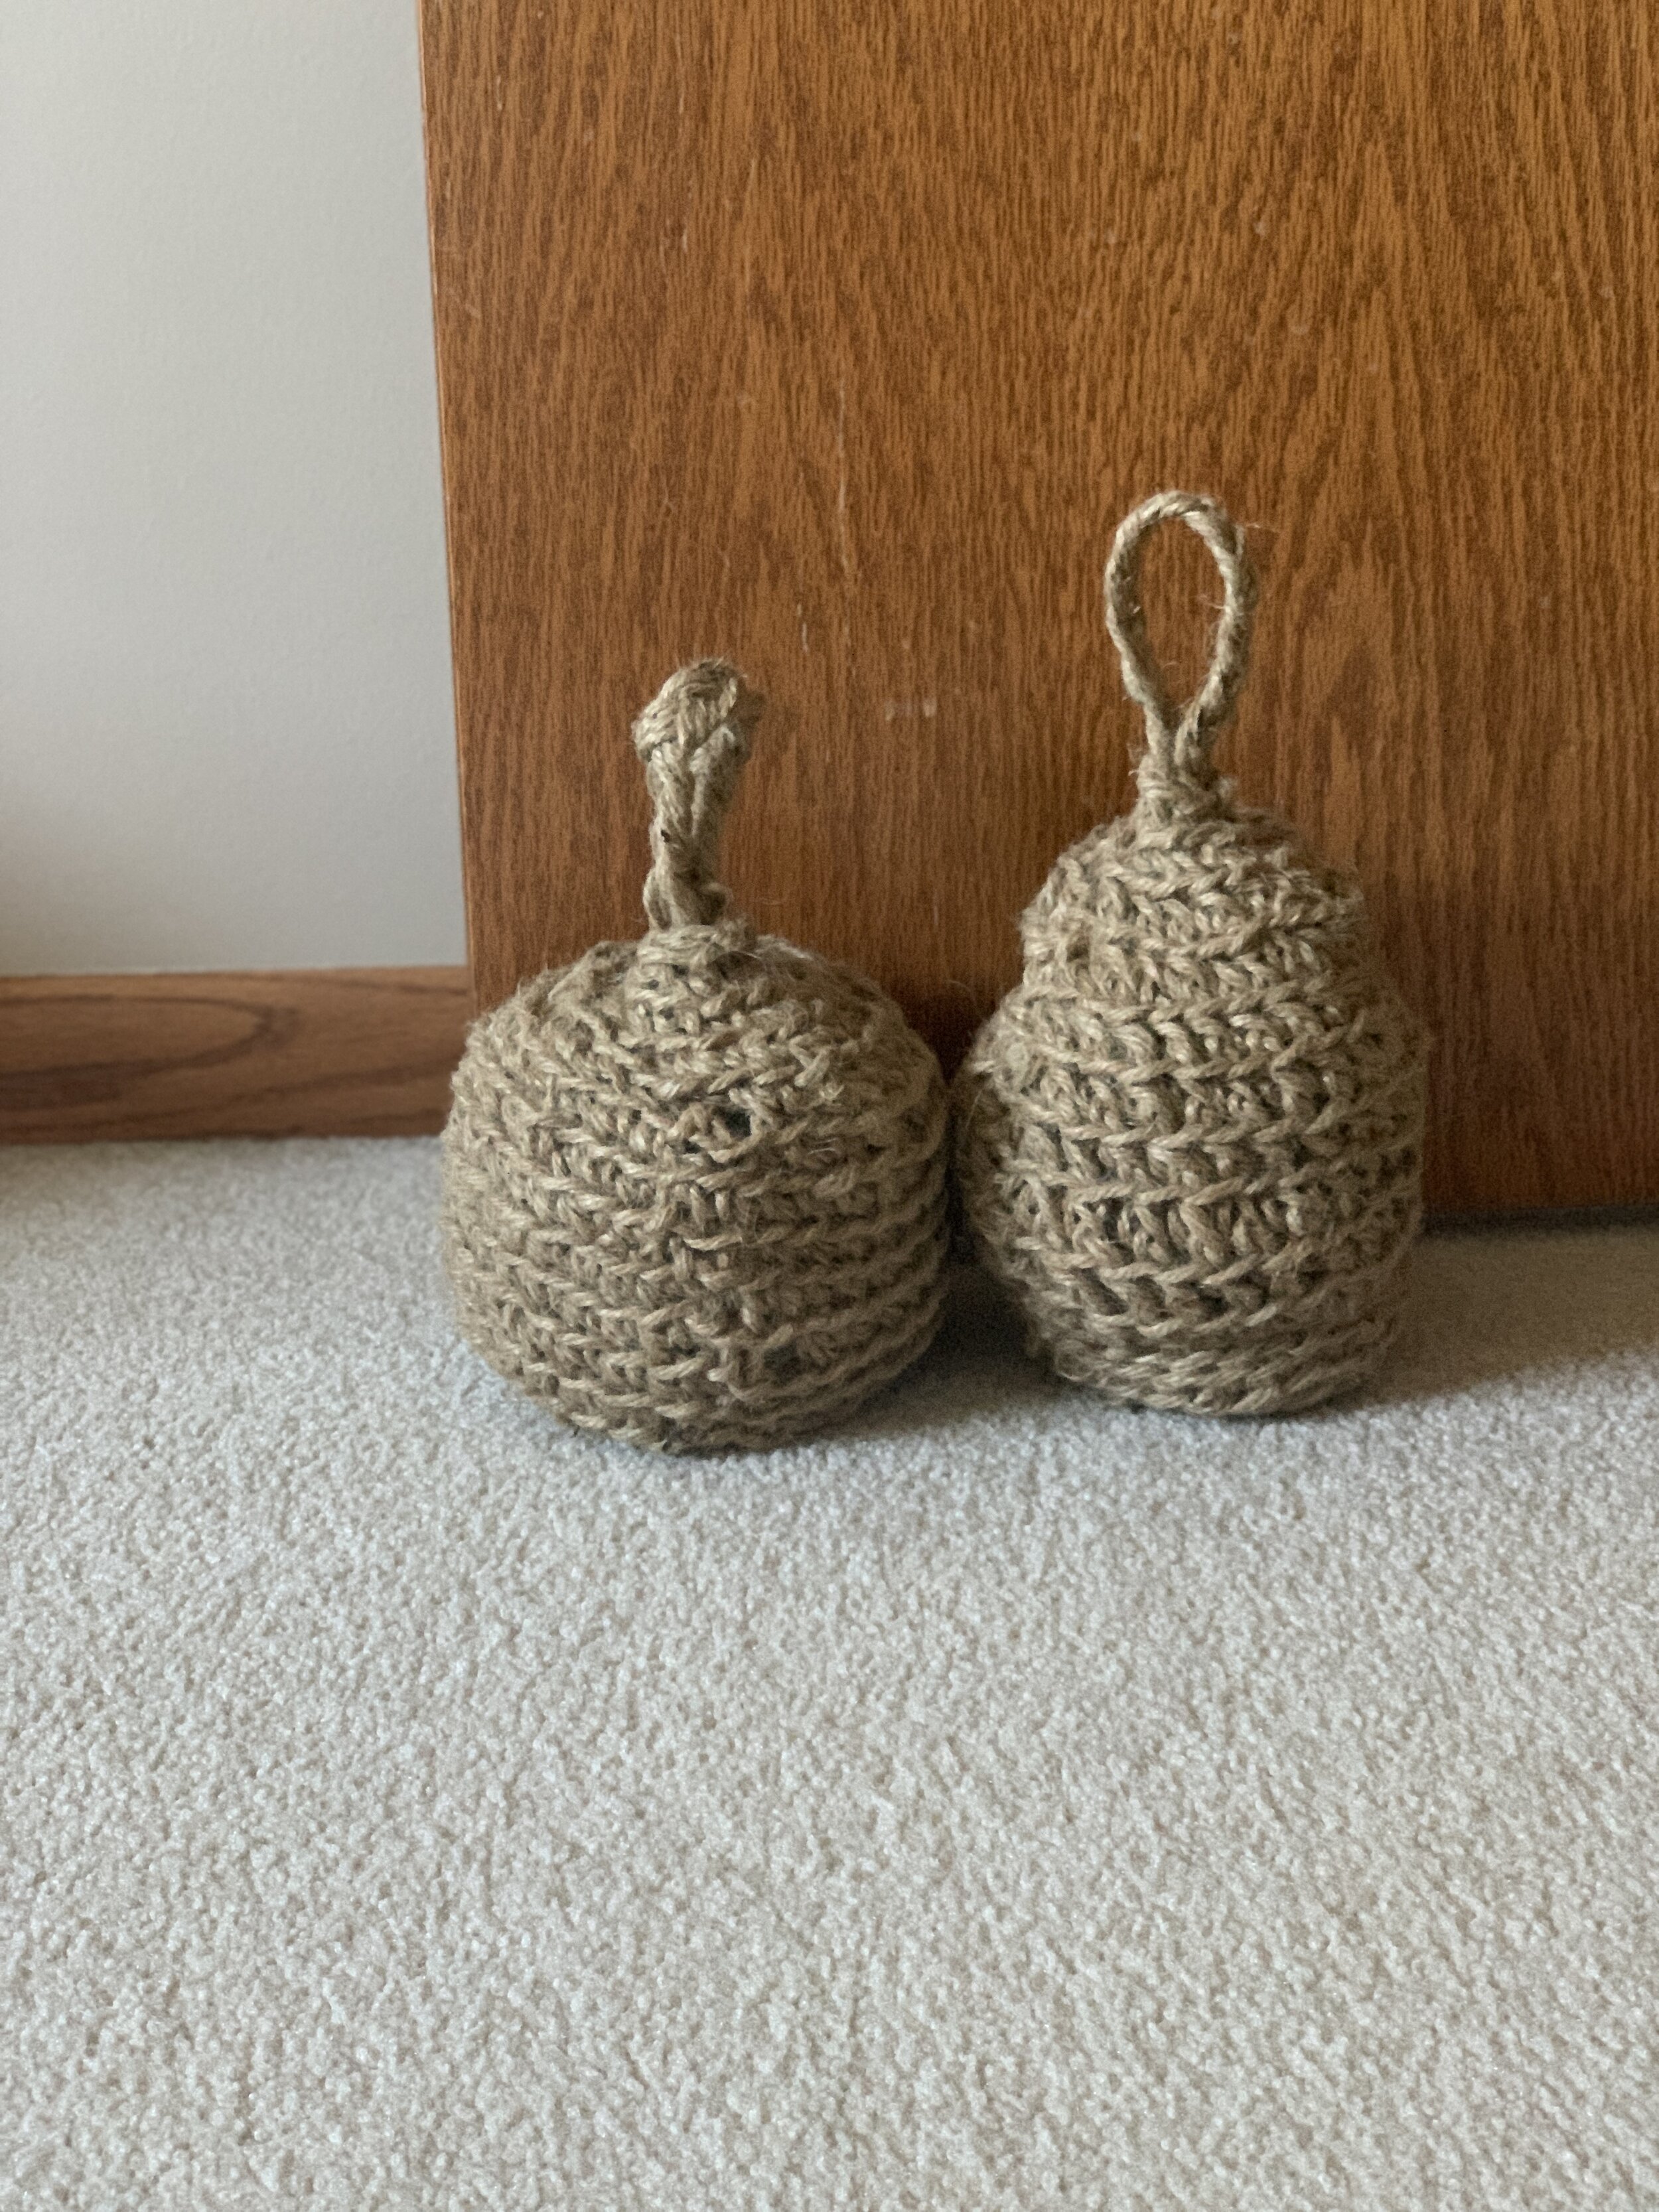
I crocheted two hemp doorstops (with twine I already had = $0) to keep our doors from slamming shut like they’re wont to do when the windows are open. I saw some inspiration online, refreshed my memory on how to crochet a circle (thanks, YouTube), and went to town! There’s really no pattern for it, but I crocheted a circle for the bottom and then single crocheted rows up to the top, where I started skipping stitches to close it, and then I attached (with thread) a braided hemp handle. I stuffed them with bags of rice to weigh them down (~$2), and they seem to be working really well. No more slamming doors (photo #2 in gallery below).
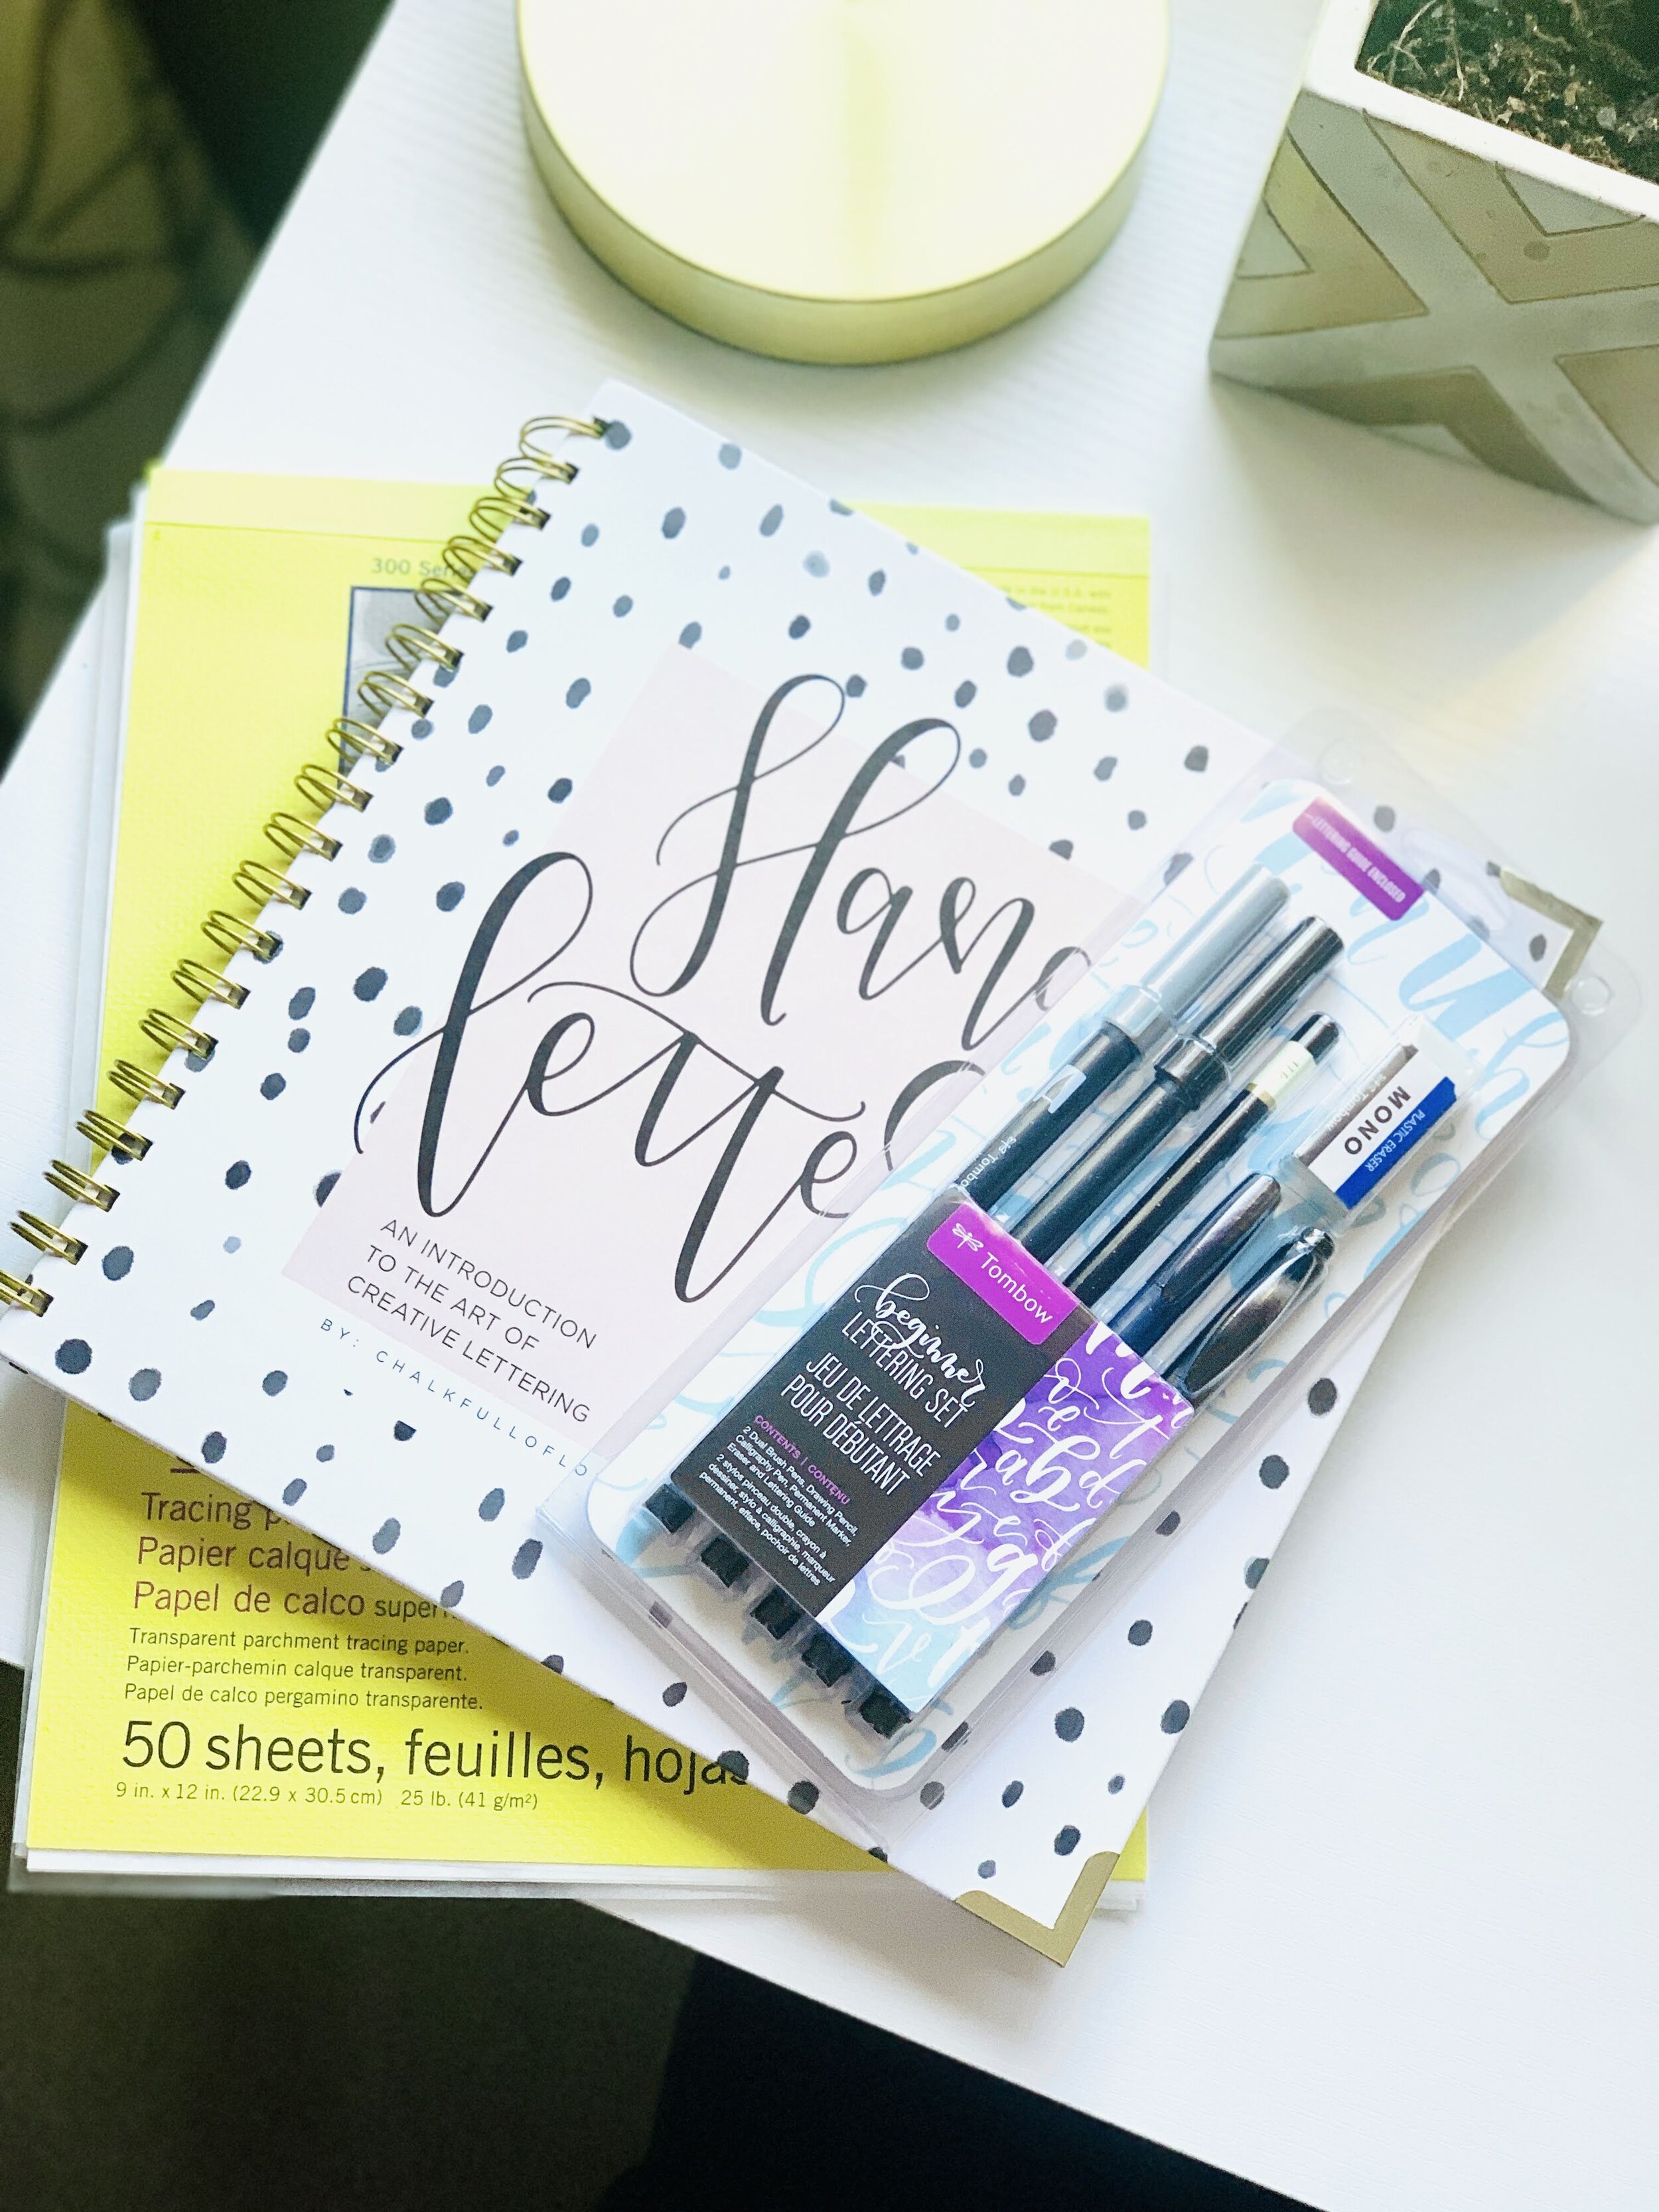
I worked on my handlettering with a workbook I got for Christmas, too. It’s a fun, mostly relaxing way to get in a little creativity, and I can do it while watching a show or movie, so it makes for a great multitasking option when I can’t sit still (photo of book and new pens is #3 in gallery below). Pro tip: use tracing paper to extend the life of your workbook while getting more practice.
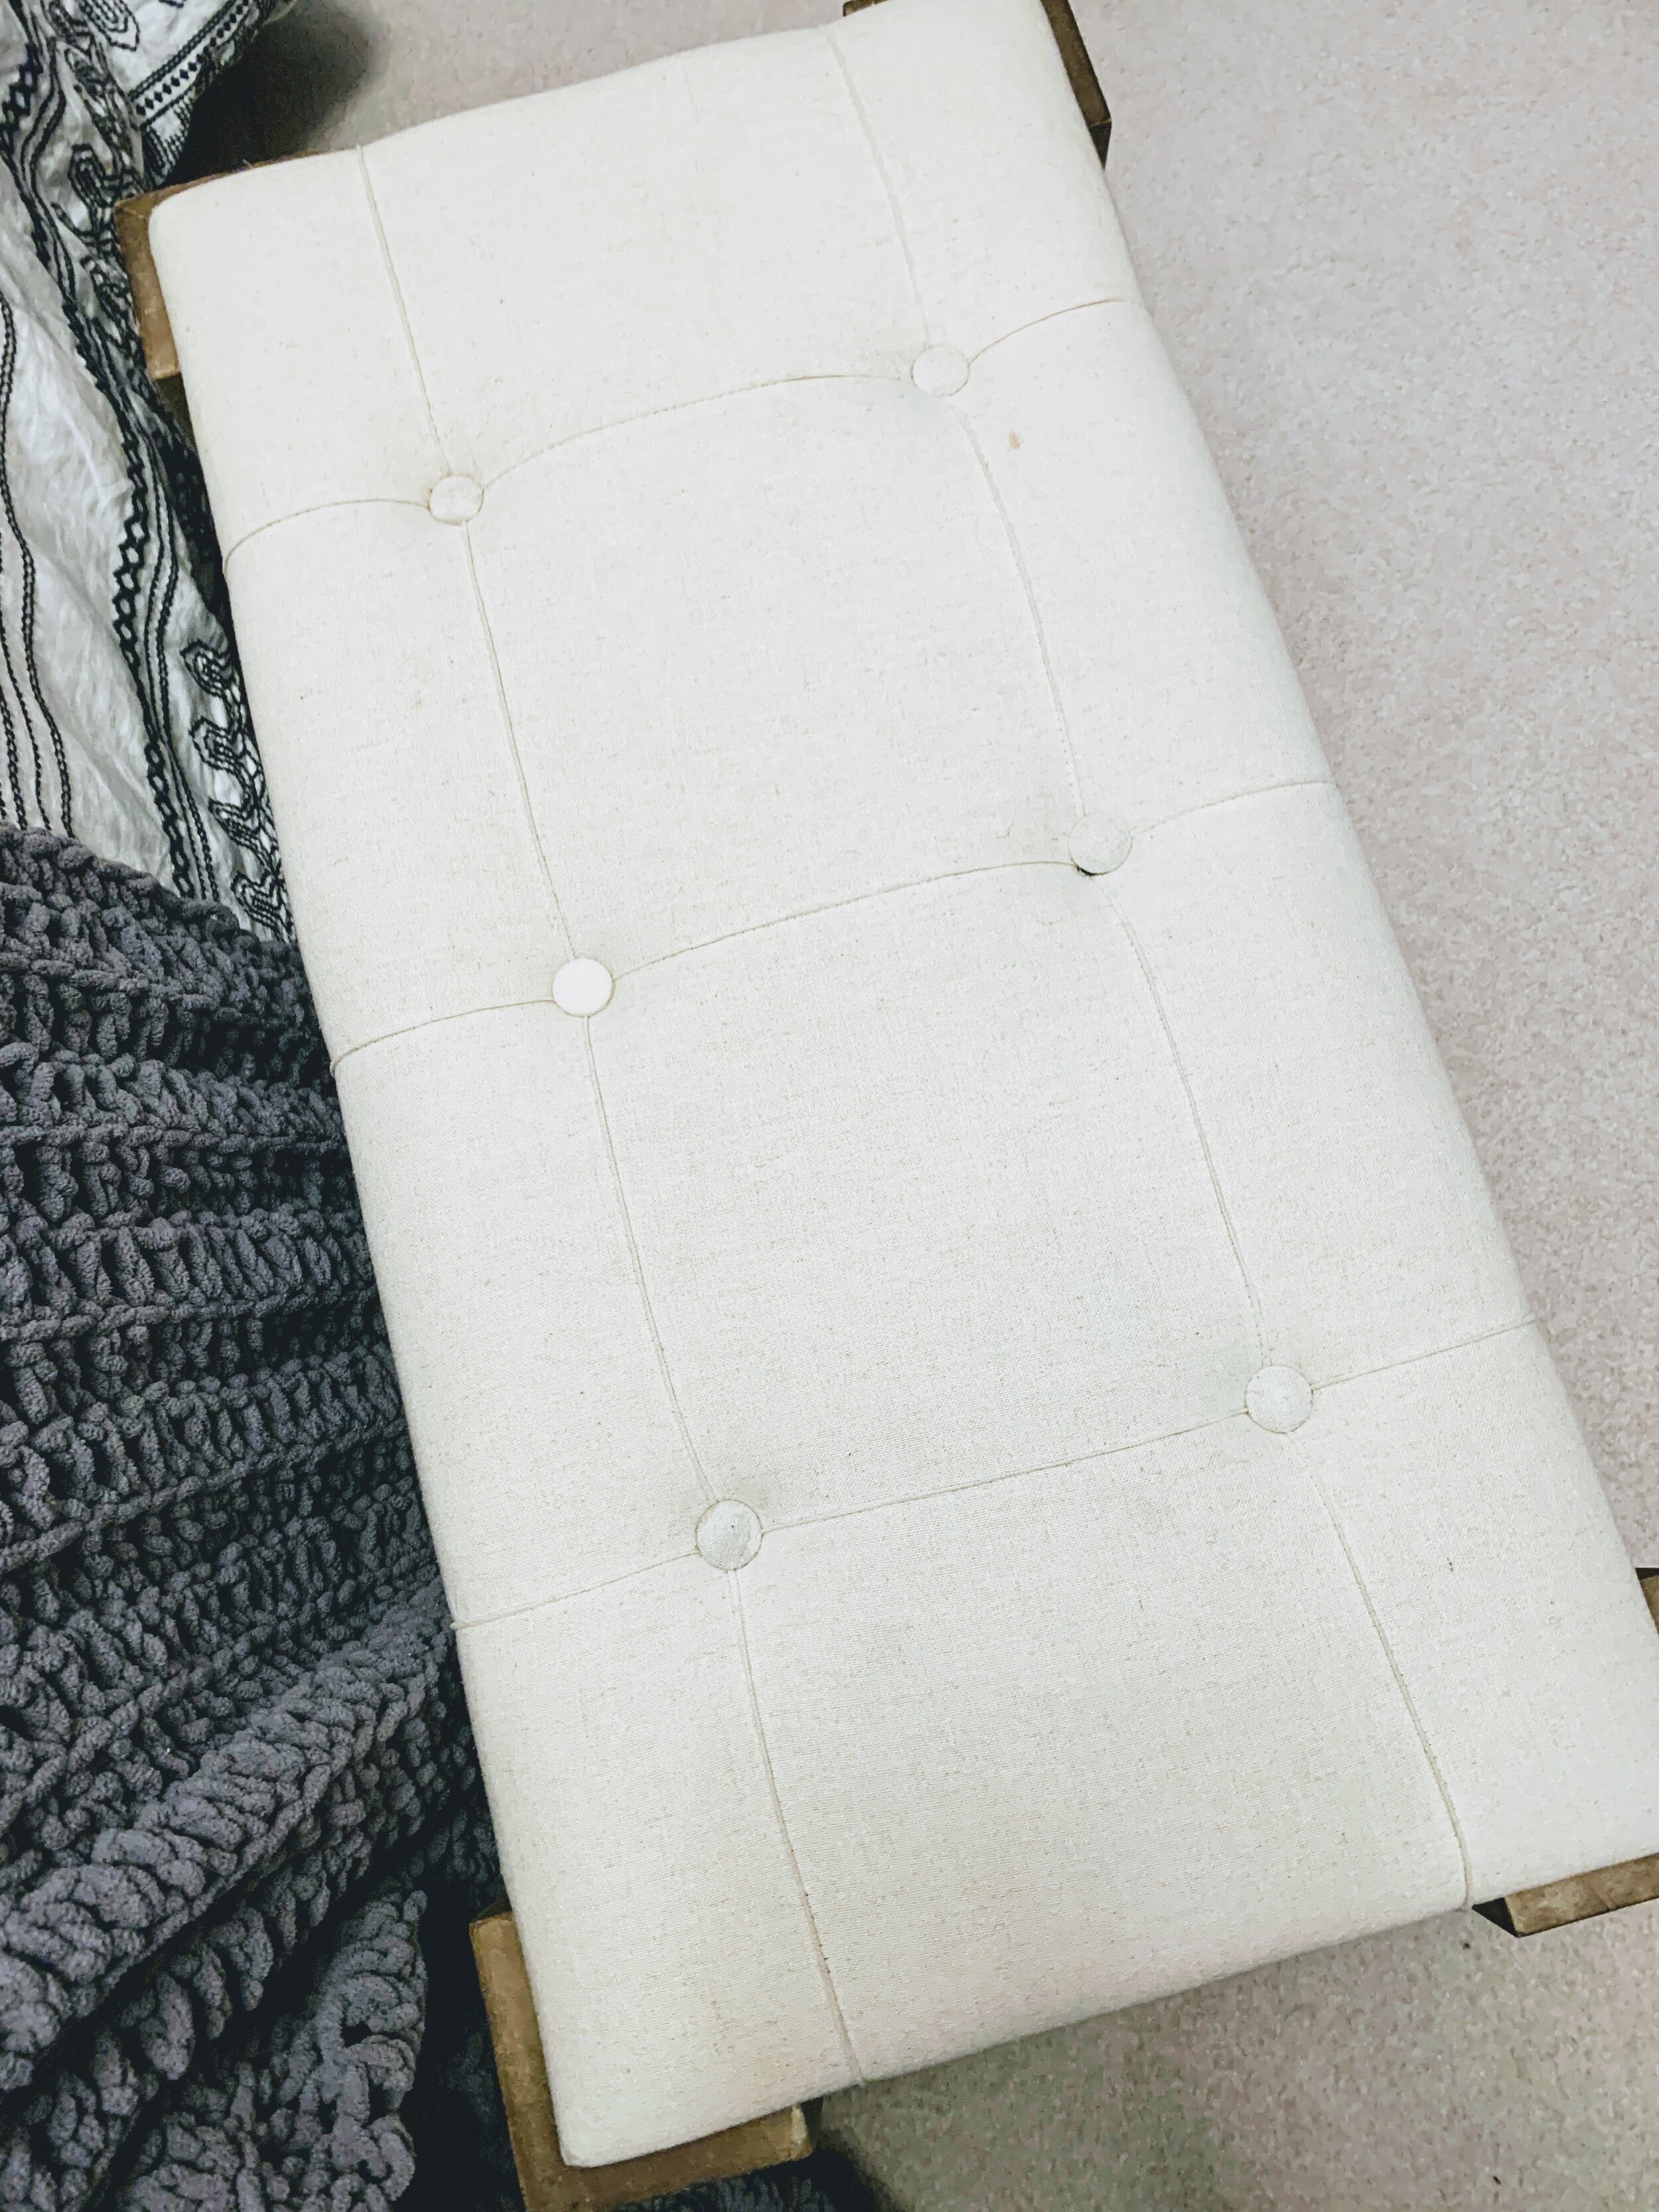
Then I got my hubby to help me with a DIY button maker so I could finally (FINALLY, after several years) replace the missing button from the tufted bench that’s now at the foot of our bed (moved up from the guest room when we got a new bed in March). I used to just cover it with a tray, but after staring at it every day for a couple months, I finally broke down and bought a button cover kit (less than $2) and a swatch of fabric (after cutting off extra fabric from the bottom of the bench and matching it as best as possible at Walmart, also less than $2). I’d been putting it off because I couldn’t find an ivory upholstered button anywhere online or in stores. Little did I know that I could just make one with an inexpensive kit (photo #4 in gallery below). I had them cut only a few inches of material, and the button kit came with tools and instructions. It’s not a 100% perfect match (mostly because the new button is cleaner), but it’s really darn close (closer in person than in photos). I’ll take it!
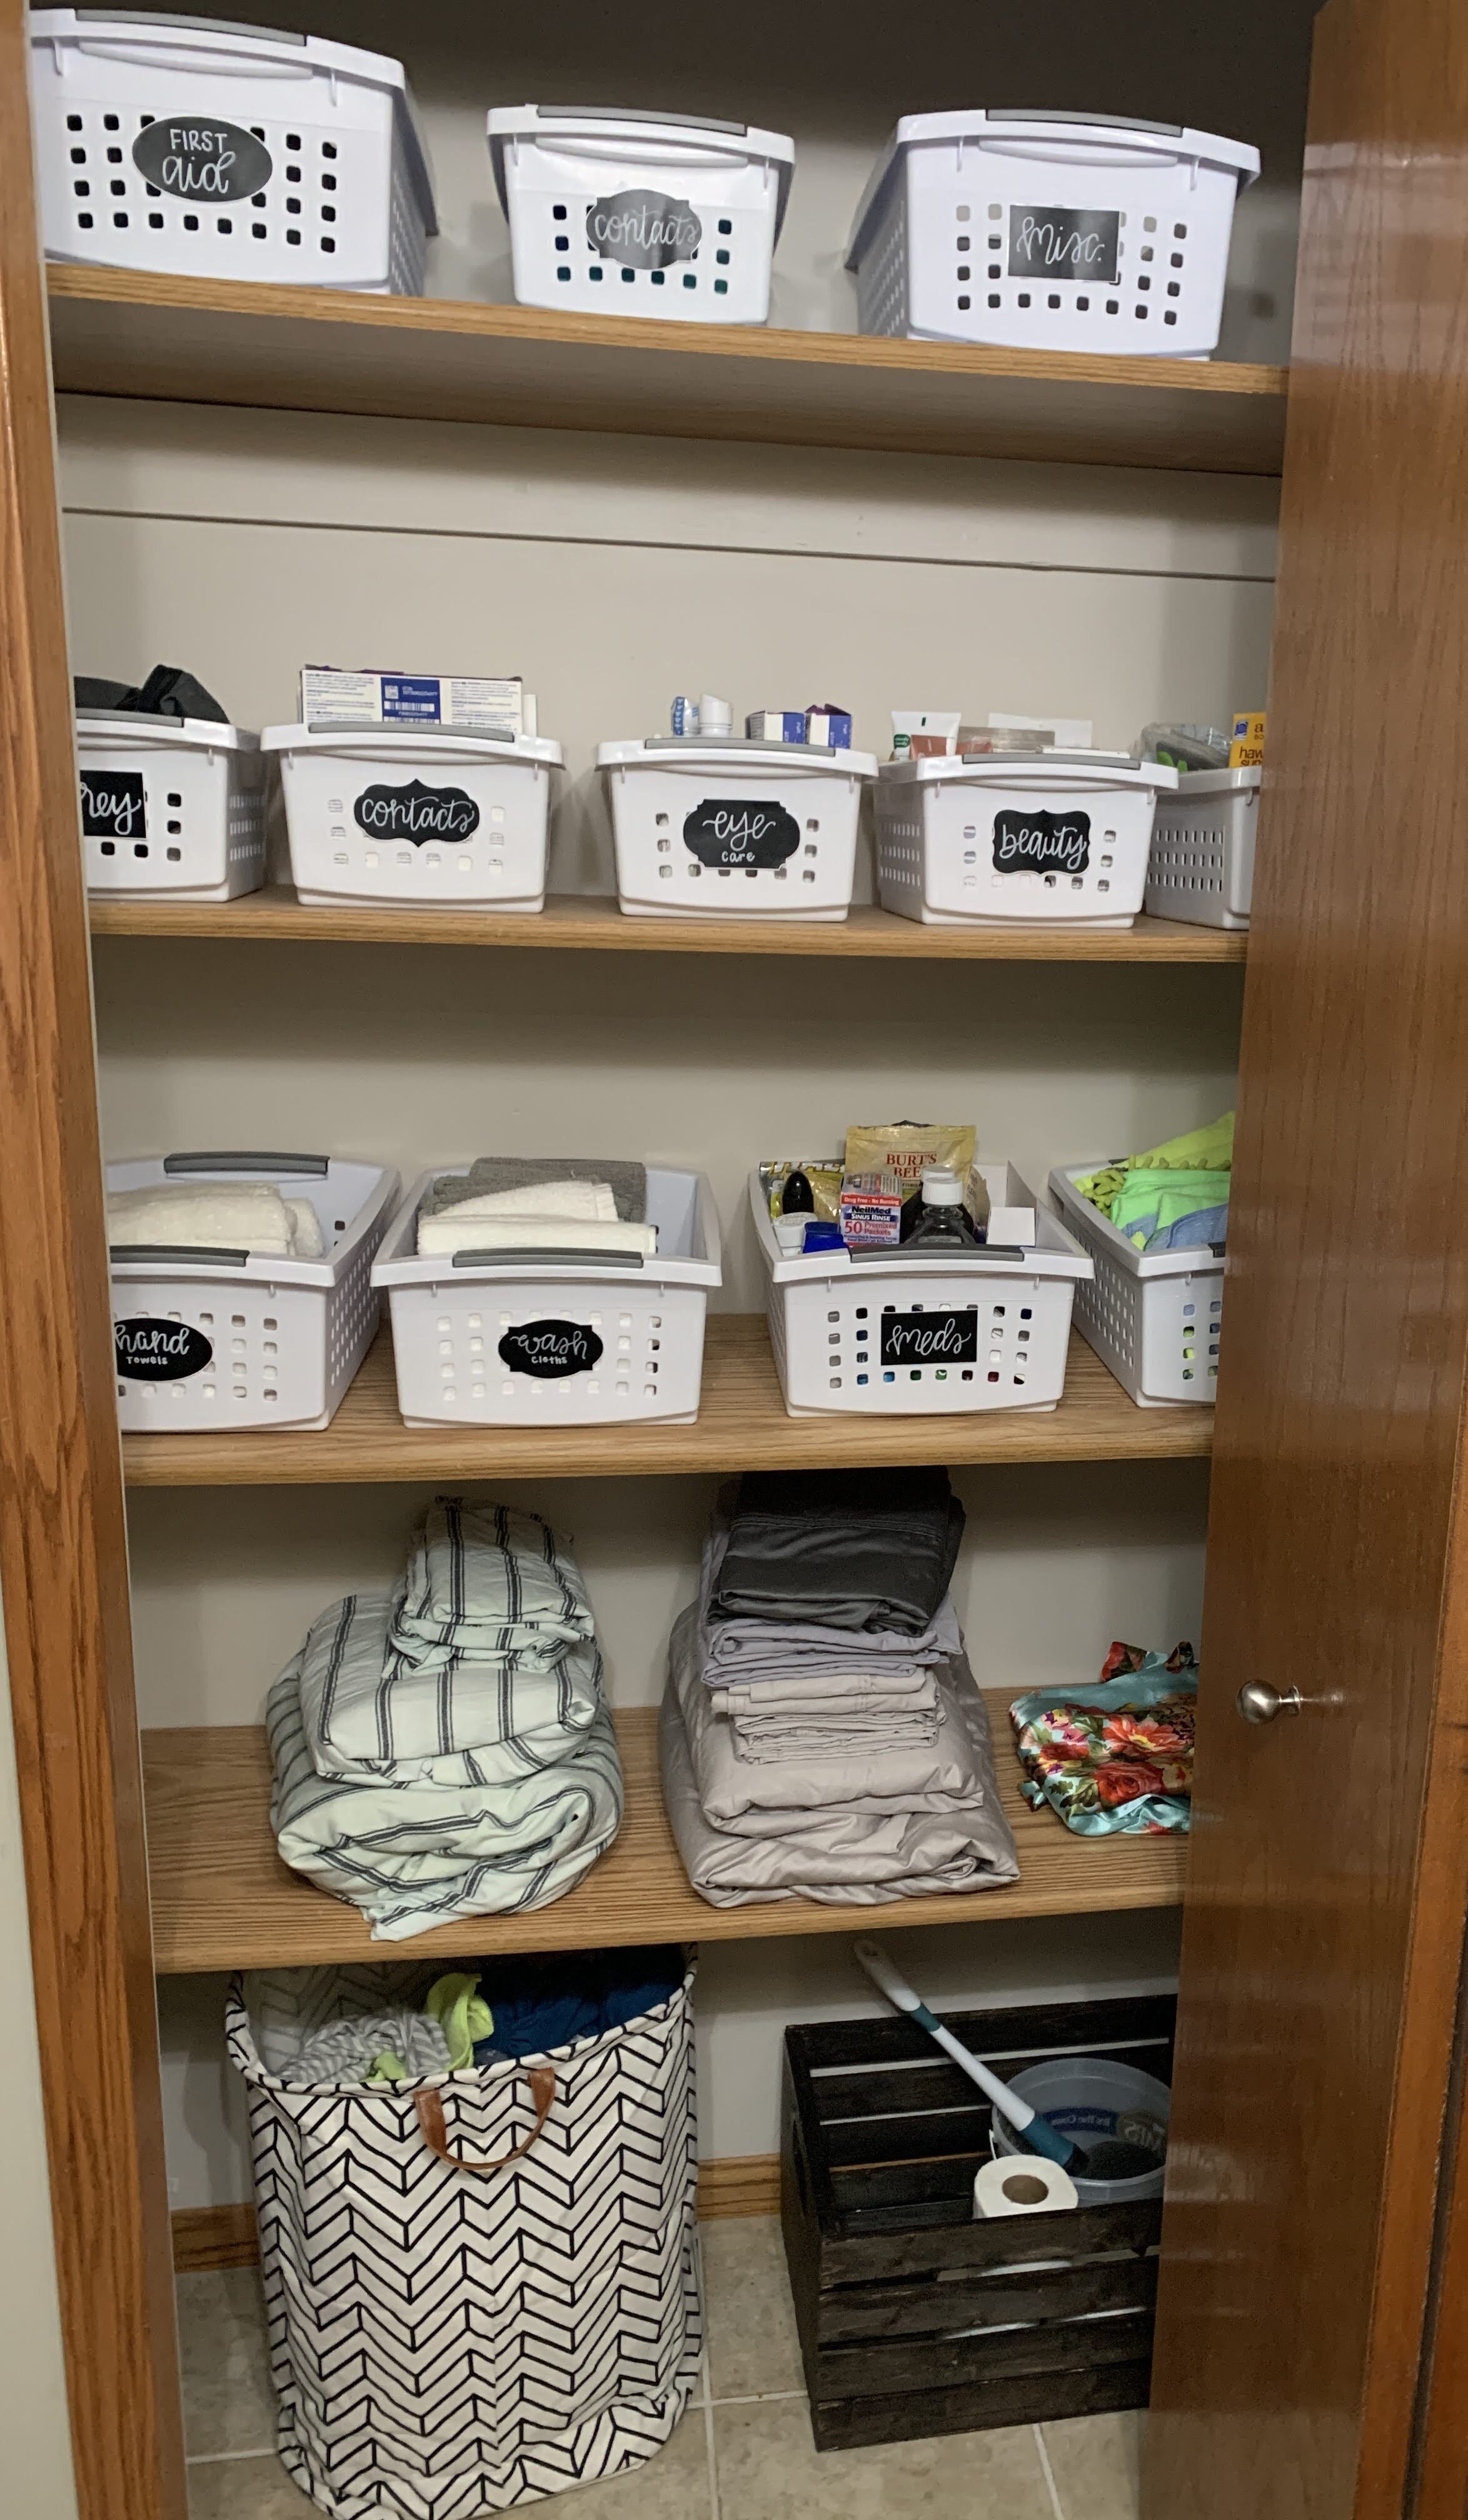
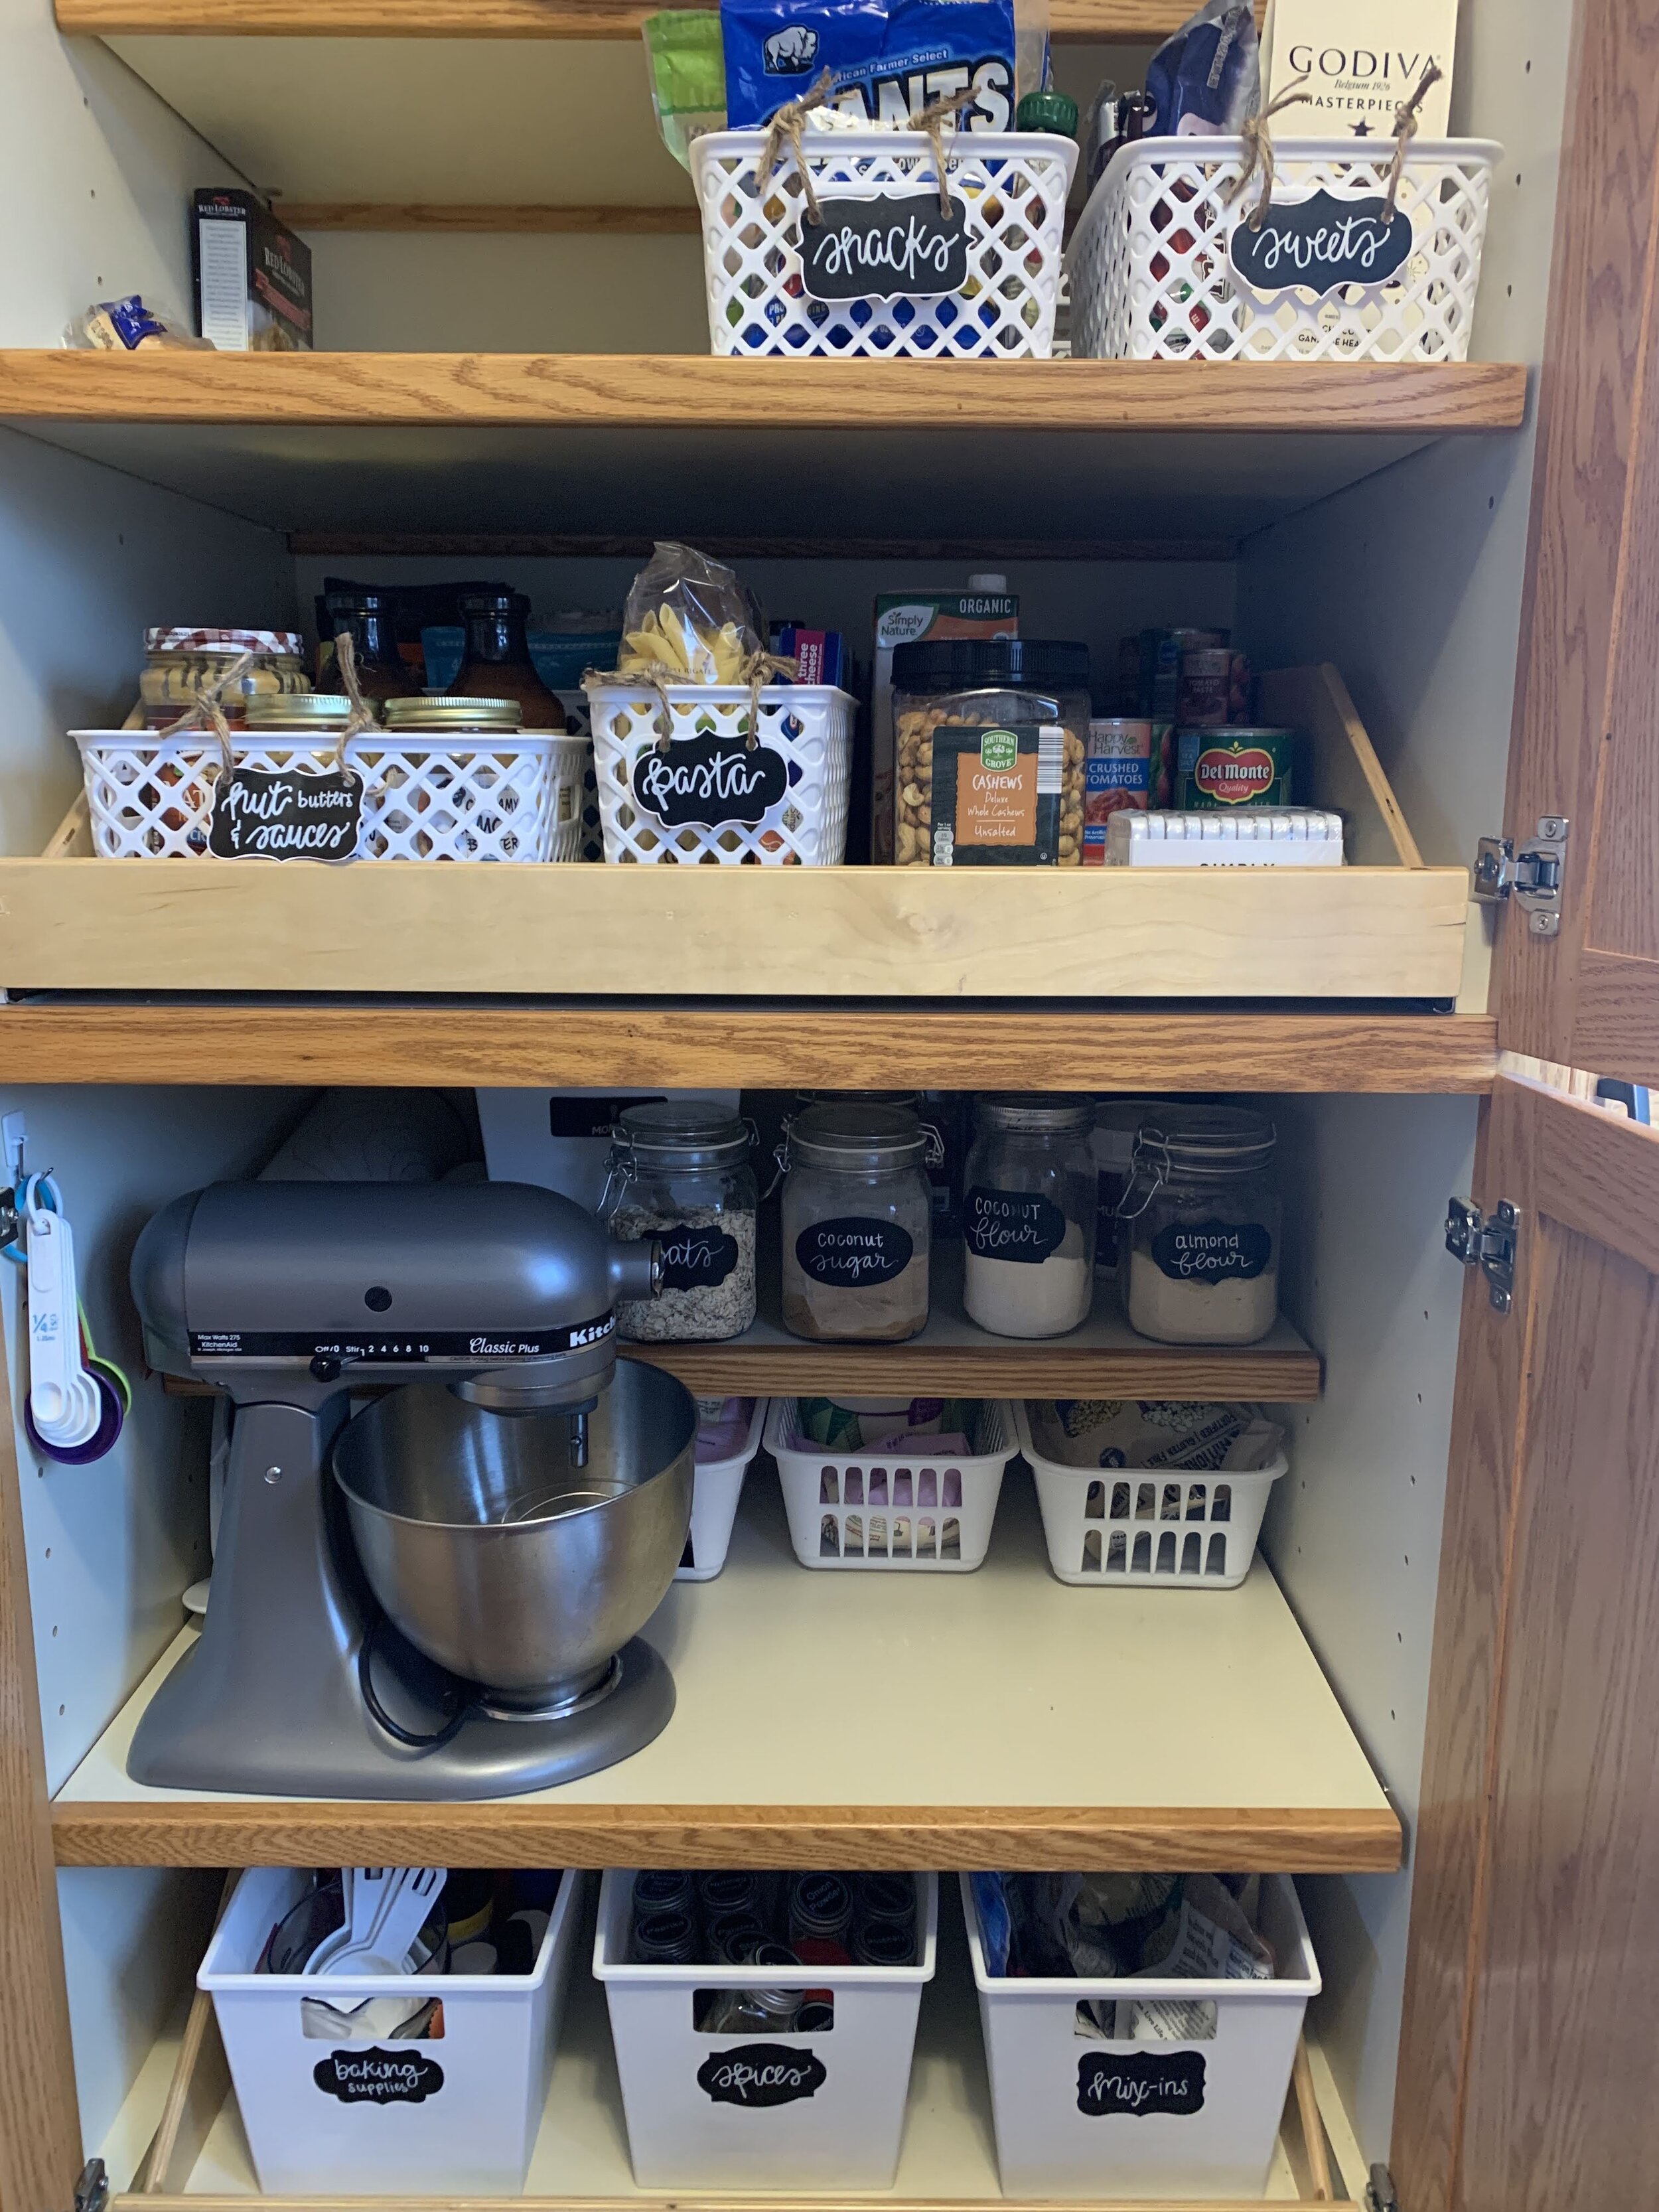
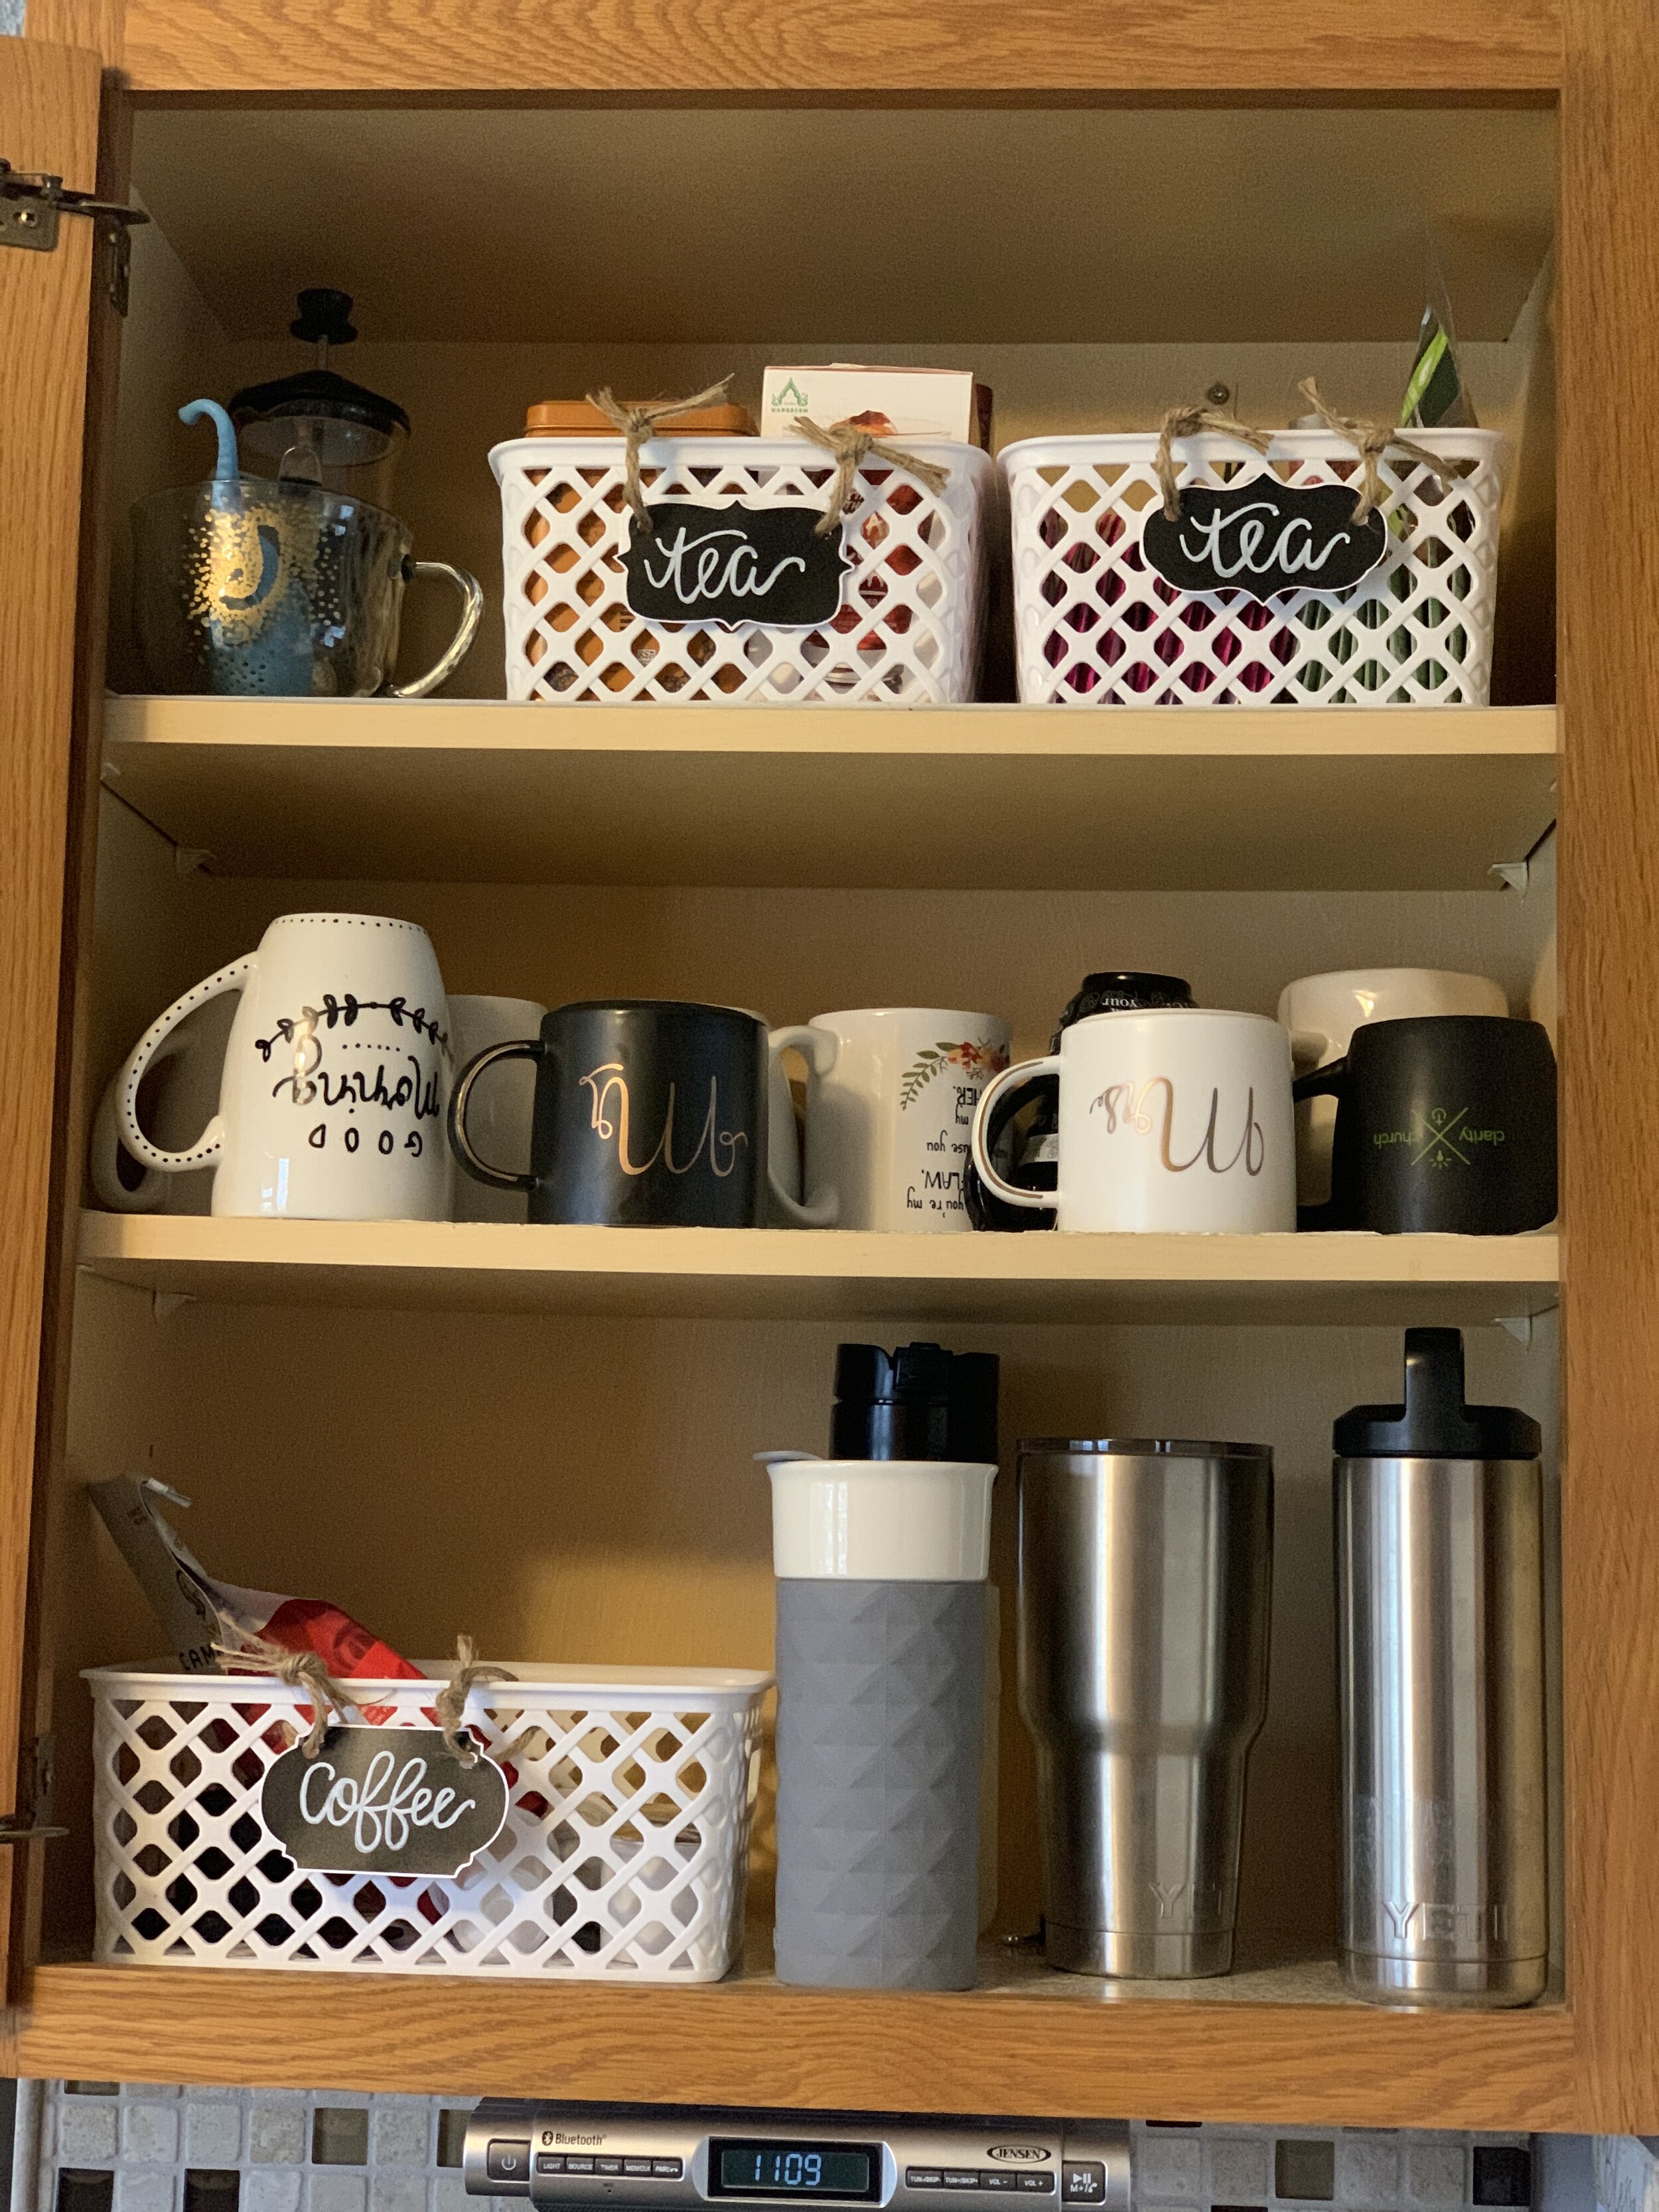
Less crafty and more practical, I also made chalk labels (similar to these) for bins in my bathroom closet (photo #5 in gallery below) and kitchen cupboards (photos #6 & 7 in gallery below) to keep things organized— they look SO much better than before!
Have you found yourself doing more projects lately? Have you done anything that you’ve been particularly proud of? I want to hear about it! Tell me in the comments.
[This post contains affiliate links. If you purchase something through my link, I will receive a small commission at no additional cost to you. Thanks for supporting my work!]


